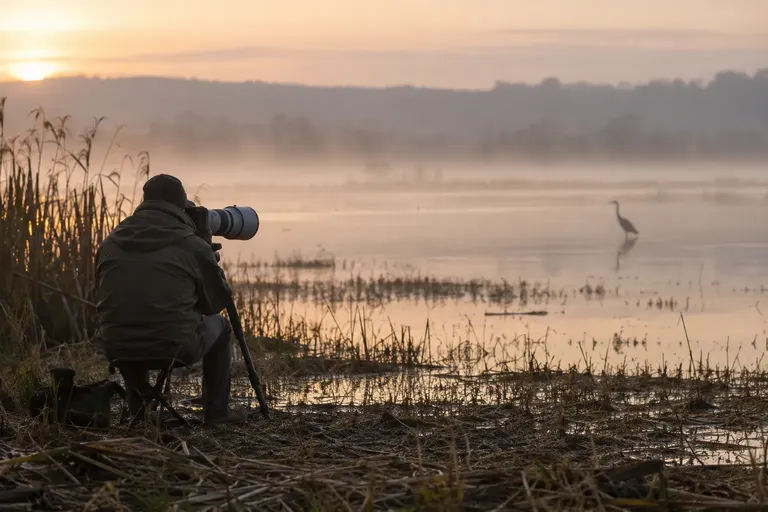
Bird Photography Ethics: Getting Close Without Harm
Bird photography ethics in one rule: the bird's welfare comes before the photo. Learn stress signs, safe distances, nest rules, playback, baiting and the law.

Cameras, settings and simple setups for sharper photos of the birds at your feeder.
Bird photography ethics in one rule: the bird's welfare comes before the photo. Learn stress signs, safe distances, nest rules, playback, baiting and the law.
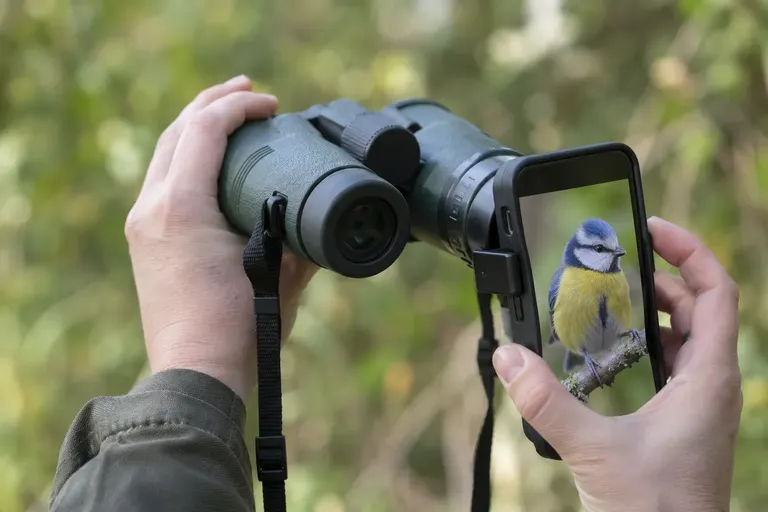
Phone photos through binoculars work: focus the binoculars, hold the phone's main lens at the eyepiece and zoom slightly to remove the dark ring. Full how-to.
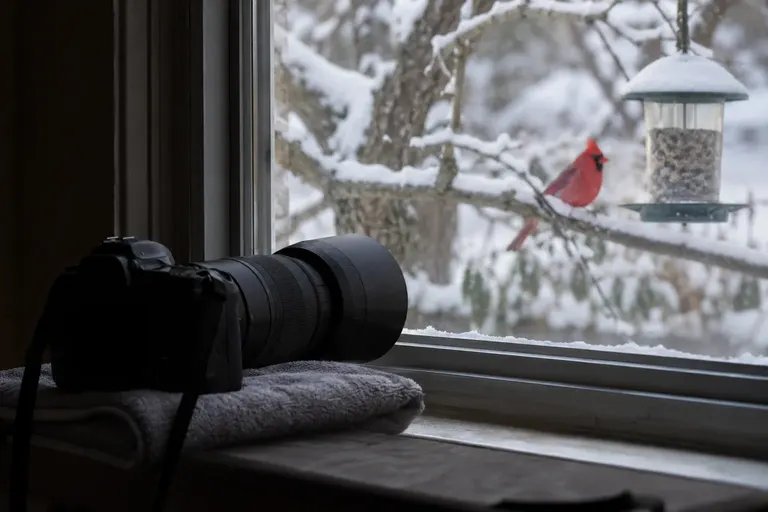
Photographing birds through a window works if the glass is clean, the lens is pressed flat and square to it, and room lights are off. Here is the full method.
Bird photography is easier to start than most people expect, and this hub covers simple methods that work with gear you may already own, from a phone held to your binoculars to a camera aimed through a window. You do not need a long lens to get pleasing backyard photos. Phone digiscoping, holding a smartphone camera to the eyepiece of binoculars, can produce sharp close views once you line up the lenses and steady your hands. A window near a feeder gives you a natural blind, because birds tolerate movement behind glass far better than a person standing in the open.
Three decisions matter most. First, light: shoot with the sun behind you or to your side, and favor early morning and late afternoon, when light is softer and birds are active. Second, background: place a feeder or natural perch so the area behind it is distant shrubs or sky rather than a fence or house siding, which gives a cleaner photo. Third, glass: shoot through a clean window, put the lens close to the pane and angle it slightly to cut reflections. If you want photos without being there, a feeder camera can capture visits all day; see our bird feeder camera setup guide for placement and settings.
Common mistakes: moving closer until the bird flushes, using playback or bait to pull birds in for a shot, and photographing active nests at close range. Ethics come first. If a bird changes its behavior because of you, you are too close. Keep your distance, stay patient and let birds come to your setup instead. Start with the phone and window guides below, then read the ethics guide before you head out.