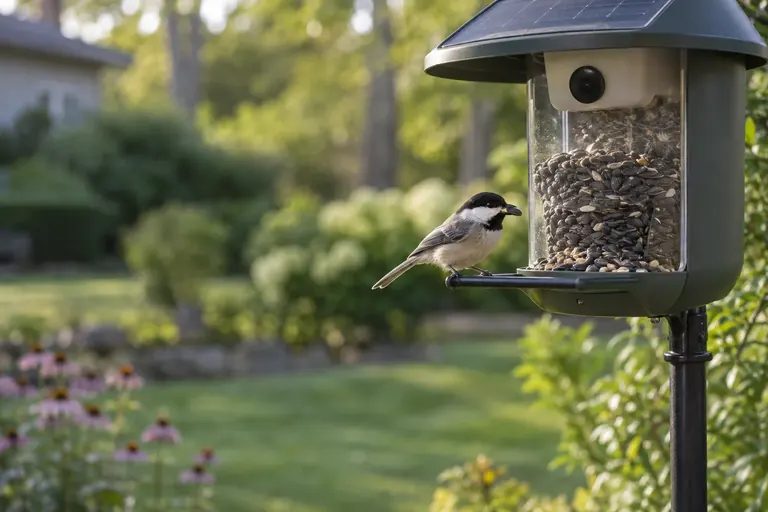
Bird Feeder Camera Setup: 5 Steps to Sharp Shots
Bird feeder camera setup for sharp shots: face the lens away from the sun, use a darker background, mount it rock-steady, confirm Wi-Fi, and clean the lens.
In this article
- Quick answer: bird feeder camera setup checklist
- Before you mount anything: power and Wi-Fi
- Where to put a bird feeder camera for the best light
- How to mount a bird feeder camera so it does not blur
- Framing: angle, distance and focus
- Camera settings that affect sharpness
- Power: batteries and solar
- Keep the lens clean
- Setting up a standalone camera at a regular feeder
- Seasonal adjustments to keep shots sharp
- Troubleshooting common feeder camera problems
- Common setup mistakes
- How we put this guide together
- Sources
- Frequently asked questions
For sharp shots, bird feeder camera setup comes down to five things: light coming from behind or beside the camera (not into the lens), a darker, uncluttered background, a mount that does not sway, a strong Wi-Fi signal at the exact spot (many feeder cameras rely on 2.4 GHz), and a clean lens. Most blurry or dark feeder-camera photos trace back to one of these, not to the camera itself.
This guide walks through the setup in order, from checking Wi-Fi before you mount anything to fine-tuning the angle with the livestream. It applies to smart feeders with built-in cameras, such as Birdbuddy and Birdfy, and to standalone cameras aimed at a regular feeder. If you are still choosing a camera, start with our roundup of the best bird feeder cameras.
Quick answer: bird feeder camera setup checklist
- Charge the camera fully before pairing or mounting.
- Check Wi-Fi at the exact spot, with your phone, before you install.
- Pick a spot with bright, indirect light, with the sun behind or beside the camera.
- Choose a darker, plain background such as a hedge, not open sky.
- Mount it on a sturdy pole about 5 ft up, with a baffle below.
- Angle the camera slightly down toward the perch.
- Fine-tune with the livestream at different times of day.
- Clean the lens whenever images look hazy, and after rain.
Before you mount anything: power and Wi-Fi
Charge fully first
Birdfy’s setup guide says to fully charge the camera with a charger before connecting a solar panel. Birdbuddy’s troubleshooting notes that pairing can fail when the camera module is plugged in and in charging mode. Charge first, unplug, then pair.
Test the signal where the feeder will go
Wi-Fi is the most common reason feeder cameras miss visits or drop livestreams. Birdbuddy suggests a simple test: wherever your phone can connect to Wi-Fi, the camera should be able to as well. Stand at the exact mounting spot with your phone and load a video. If it stutters, the camera will too.
Birdfy’s app includes a Wi-Fi analysis tool under device settings. Use it before you commit to a location.
Check your band: 2.4 GHz vs 5 GHz
Many feeder cameras rely on 2.4 GHz Wi-Fi, which reaches farther and passes through walls better than 5 GHz.
- Birdfy: the setup guide asks you to connect your phone to a 2.4 GHz network for pairing.
- Birdbuddy: the original camera works on 2.4 GHz only; Birdbuddy 2 supports both 2.4 and 5 GHz.
Most home routers broadcast both bands at once, which is usually fine. If pairing fails, Birdbuddy’s support page suggests checking that the network is not hidden, that it uses WPA2 security, and trying a guest or smart-home network on 2.4 GHz. Temporarily pairing through a phone hotspot can show whether the router is the problem.
Improve a weak signal
If the best bird spot has weak Wi-Fi, you have three options: move the feeder closer to the house, move the router closer to that side of the house, or add a mesh node or outdoor extender. Moving the feeder is often the simplest, but not at the expense of good light.
Where to put a bird feeder camera for the best light
Light is the single biggest factor in photo quality. Good cameras still produce muddy, noisy images in deep shade and harsh, washed-out ones in direct sun into the lens.
Keep the sun behind or beside the camera
BirdWatching magazine recommends a north-facing camera where possible to avoid sun glare. In the US, the sun moves across the southern sky, so a lens facing roughly north keeps the sun behind or beside it for most of the day. Birdbuddy’s own tips say to avoid morning and evening sun shining directly into the lens.
If north is not possible, east- or west-facing setups can work, but expect one end of the day to be backlit. Watch the livestream at the times birds visit most and adjust the angle.
Avoid heavy shade
Birdbuddy advises against placing the feeder in heavy shade. Deep shade forces the camera to use slower exposures or higher sensitivity, which leads to motion blur and grainy images. Bright, open shade, such as the north side of a tree or house with open sky above, is often ideal.
Choose the background deliberately
The background affects exposure as much as the subject. Birdbuddy puts it plainly: a dark background can make photos look dim, while a very bright one can cause the camera to darken the image too much. BirdWatching suggests keeping darker shadows in the background so feather colors stand out.
In practice, a hedge, a shrub border or a wooden fence several yards behind the feeder makes a good backdrop; the extra distance lets it blur softly. Open sky behind the feeder usually turns birds into dark silhouettes.
Stay away from reflective surfaces
Birdbuddy also recommends moving the feeder away from windows and other shiny surfaces that cause reflections and glare.
A note on windows and bird safety
You may have seen advice to place feeders less than 3 ft or more than 30 ft from windows. The Cornell Lab’s current guidance treats those distances as outdated and focuses instead on making nearby windows bird-friendly with markings or screens. If your camera feeder sits near a window, treat the glass. Our guide on how to stop birds hitting windows explains what works.
For general placement, including cover and predator safety, see where to put a bird feeder.
How to mount a bird feeder camera so it does not blur
Use a pole, not a branch
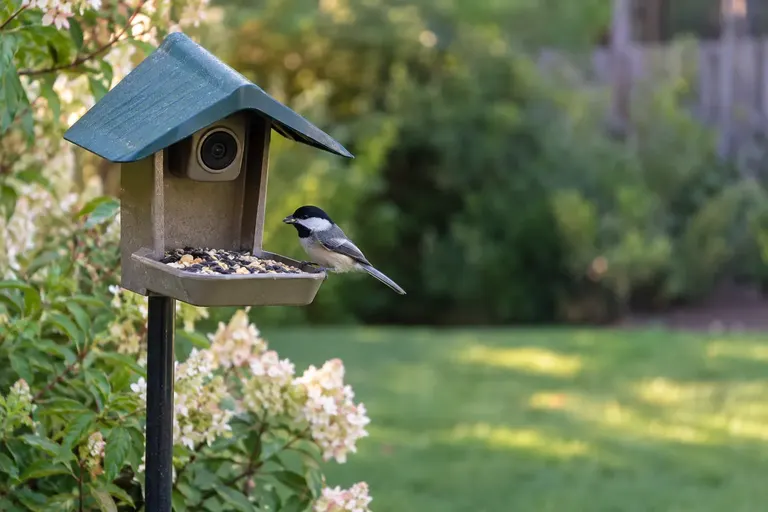
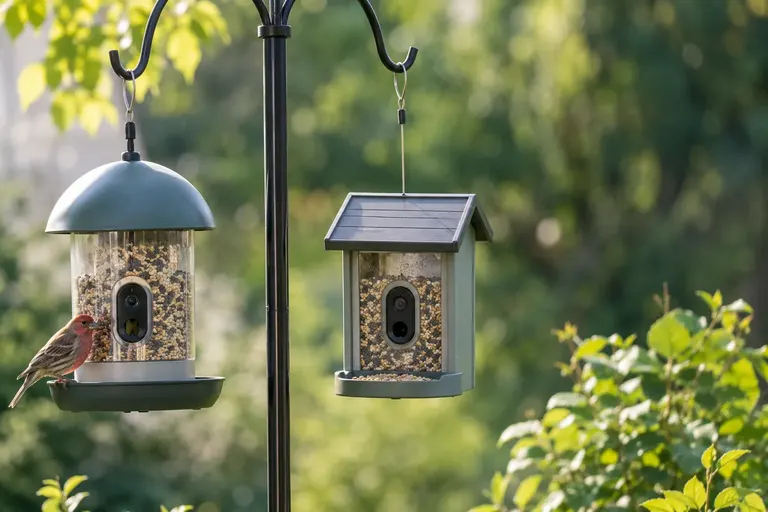
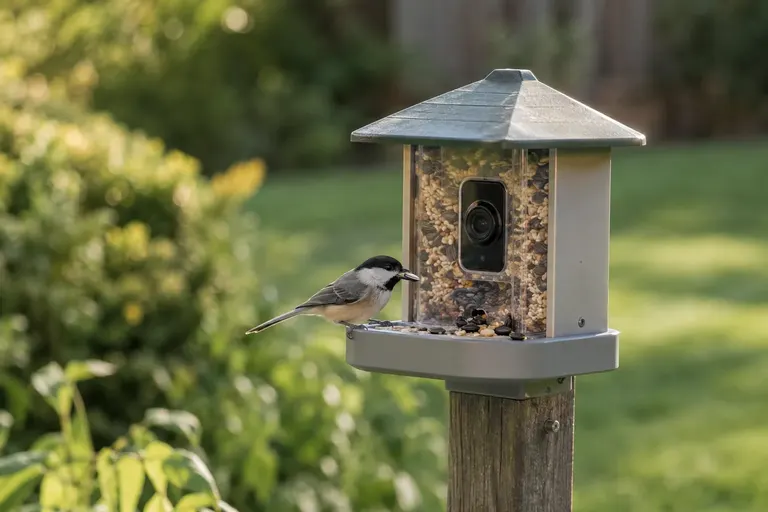
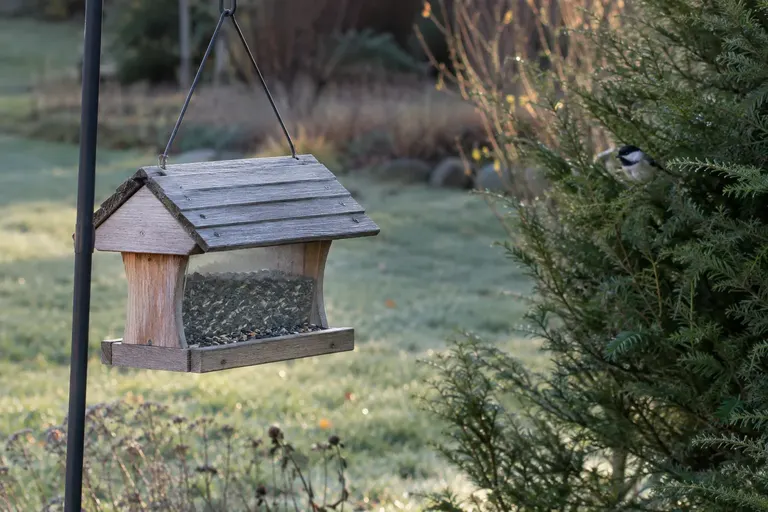
A feeder hanging from a branch or a long hook swings in the wind and bounces every time a bird lands. That movement blurs photos. A sturdy pole, driven firmly into the ground, is far steadier. Wall and deck-rail mounts also work if they are rigid.
Mount height and squirrels
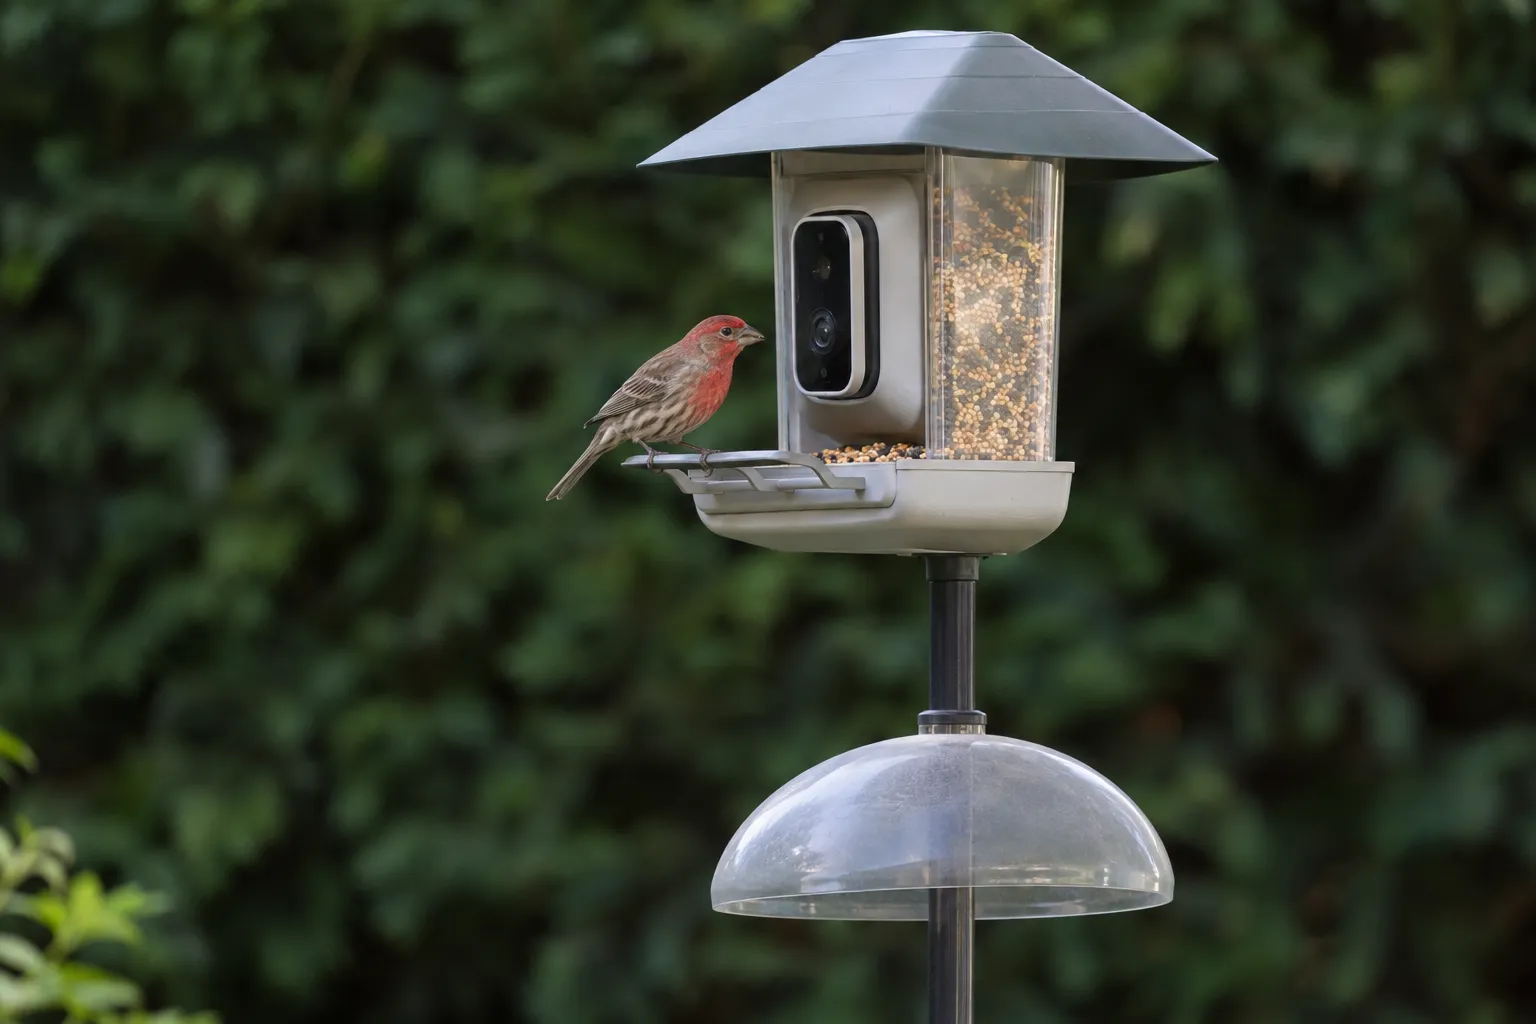
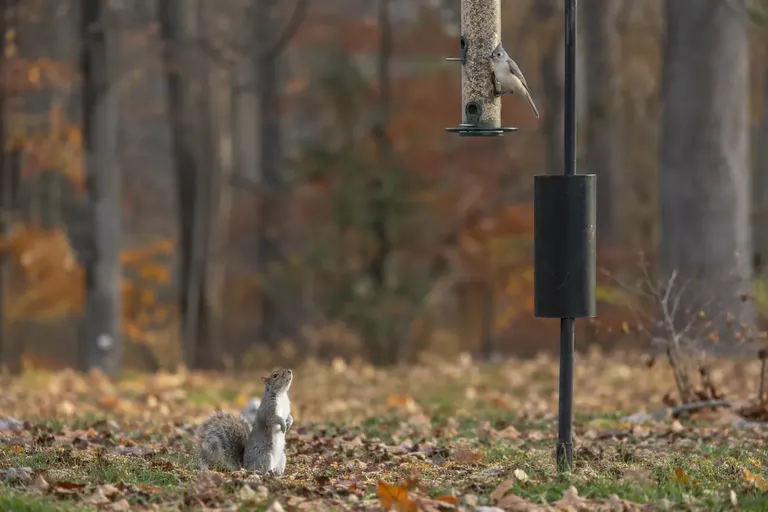
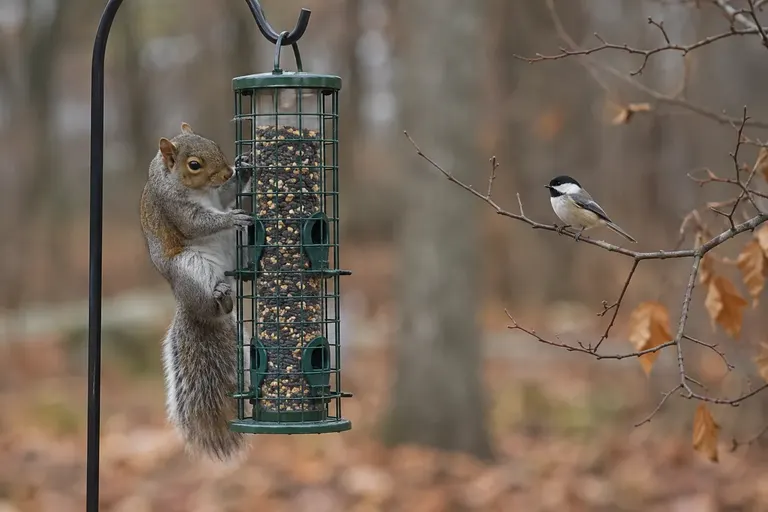
Birdfy recommends mounting its feeder on a pole at least 1.5 meters, about 5 ft, above the ground with a squirrel baffle, out of reach of squirrels. Squirrels chew on camera housings and knock feeders around, and they also trigger endless motion clips. Our explainer on squirrel baffles covers sizes and placement.
A camera at roughly eye level is also easier to refill, clean and adjust, which means you will actually do it.
Tighten everything
Check that the camera module is seated firmly, that pole sections are locked, and that any clamp or bracket is snug. A small wobble at the mount becomes a big shake at the lens.
Framing: angle, distance and focus
Angle the camera slightly down
BirdWatching recommends facing the camera slightly downward, and mounting it above the level of the feeding surface. This fills more of the background with shrubs or ground instead of bright sky, and it shows birds from a natural angle.
Respect the minimum focus distance
Every camera has a closest distance at which it can focus. Smart feeders with built-in cameras are designed so the perch sits at the right distance. Problems appear when birds feed somewhere else, such as on the roof of the feeder or on the far edge of a wide tray, outside the sharp zone.
If you aim a separate camera at a regular feeder, BirdWatching’s advice is to move the camera physically closer rather than rely on digital zoom, but not so close that the bird is nearer than the camera’s minimum focus distance. Check the manual for that figure.
Keep birds where the camera looks
A few habits keep birds in the frame:
- Keep seed topped up. When seed runs low, birds dig and lean out of frame.
- Expect grab-and-go visitors. Chickadees and titmice usually take one seed and fly to a nearby branch to eat it, so their visits are brief. Finches and cardinals tend to sit and feed longer, giving the camera more chances. Black oil sunflower seed draws the widest mix of feeder birds.
- Remove competing perches right next to the camera that pull birds out of frame.
Tune the view with the livestream
Birdbuddy recommends using the livestream to fine-tune your setup. Open the live view, then adjust angle, height and position until the perch sits where you want it and exposure looks right. Check at morning, midday and late afternoon, because light changes the picture throughout the day.
Camera settings that affect sharpness
Smart feeders handle most settings automatically, but a few choices still matter.
Resolution and frame rate
For standalone cameras and video, BirdWatching suggests 60 frames per second or higher to reduce motion blur, and says 1080p at 60 fps often gives clearer results than 4K at a lower frame rate for moving birds. Birdfy’s own guide recommends 30 fps for slower movement and 60 fps for fast-moving birds.
Motion sensitivity
If your camera lets you adjust motion sensitivity, start in the middle. Too high, and swaying leaves and shadows trigger clips all day, draining battery and storage. Too low, and small birds such as chickadees and goldfinches slip through. Adjust after a few days of watching what gets recorded.
Manual cameras
If you use a mirrorless or DSLR camera near a feeder, Birdfy’s guide suggests fast shutter speeds of 1/1000 second or faster to freeze motion, and continuous autofocus to track moving birds.
Power: batteries and solar
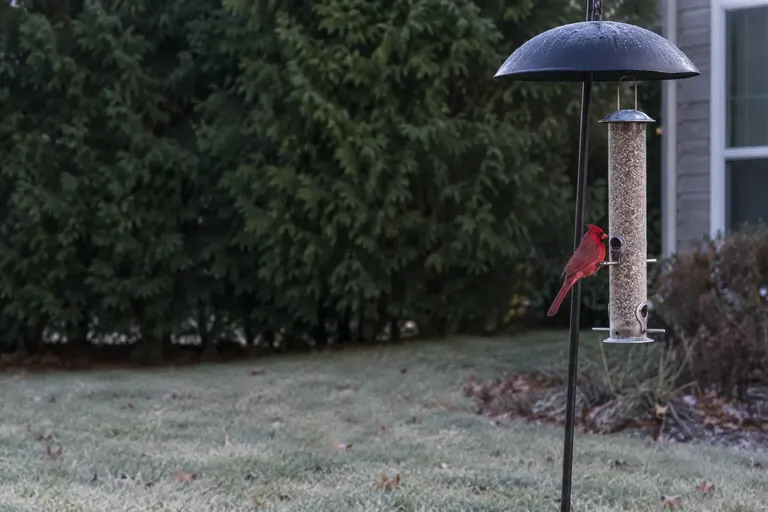
Most smart feeders run on rechargeable batteries, with optional solar panels. Solar panels need direct sun to charge, which can conflict with the soft, indirect light that produces the best photos. Where possible, mount the panel where it gets sun and route the cable so the camera itself stays out of harsh light.
In winter, shorter days and cold temperatures reduce battery life. Expect to charge more often from late fall through early spring.
Keep the lens clean
A dirty lens is the most common cause of hazy photos. Birdbuddy’s advice is specific:
- Gently remove dust or grit first, so you do not grind it into the lens.
- Wipe with a clean microfiber or eyeglass cloth.
- Avoid paper towels, napkins and sponges, which can scratch.
- Skip window sprays, alcohol and strong chemical cleaners that leave residue.
- Expect water spots after rain, when drops splash up from the perch.
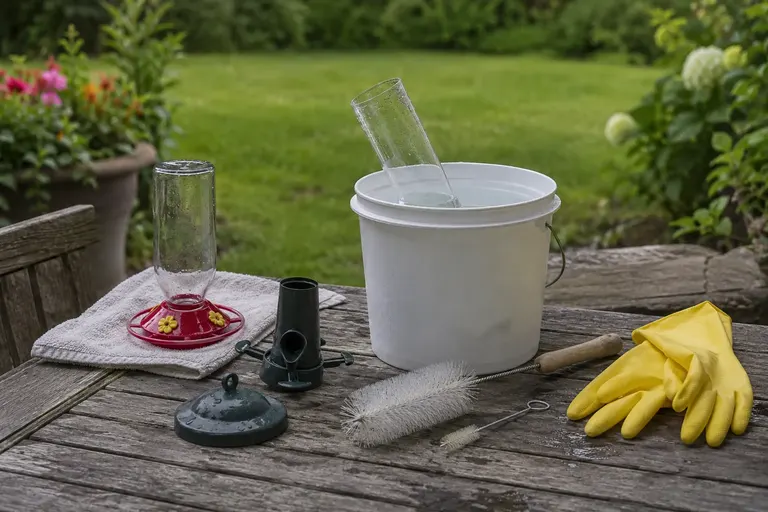
Clean the feeder regularly too. Birdfy suggests cleaning every one to two weeks and keeping seed dry to prevent mold. Our guide on how to clean a bird feeder covers safe methods.
Setting up a standalone camera at a regular feeder
You do not need a smart feeder to film birds. BirdWatching magazine lists several alternatives: action cameras, trail cameras with motion triggers, dash cameras and home security cameras. Each needs a slightly different setup.
Action cameras
Action cameras are small and easy to clamp near a feeder, but most have wide-angle lenses. A bird that fills the frame on a smart feeder looks tiny on a wide action-camera shot unless the camera sits close. Check the minimum focus distance, place the camera close to the perch, and use a clamp or bracket that does not flex. Battery life is usually short, so plan for external power for long sessions.
Trail cameras
Trail cameras are built for outdoor use and trigger on motion, which suits feeders. Many are designed to photograph deer-sized animals several yards away, so small birds up close can be soft. Look for models that list a close-focus or macro setting, or mount the camera at the distance the manual recommends.
Security cameras
A wired outdoor security camera aimed at a feeder gives continuous power and recording. The trade-off is fixed placement and a need for mains power, as BirdWatching notes. Zoom-capable models help, but optical zoom is better than digital.
For any standalone camera, the same rules apply: light from behind, a darker background, a steady mount and a clean lens.
Seasonal adjustments to keep shots sharp
A setup that works in June may not work in December.
- Sun angle changes. In winter the sun sits lower in the southern sky, which can push glare into lenses that were fine all summer. Recheck the angle with the livestream as seasons change.
- Leaves drop. A hedge or tree that gave you a dark, leafy background in summer may turn to bright, bare branches and sky. Consider moving the feeder closer to evergreens for winter.
- Cold shortens battery life. Keep a charged spare if your camera supports one, or add solar where there is winter sun.
- Snow and ice. Brush snow off the perch and camera housing after storms. Snow on the ground also brightens the scene, which can darken birds slightly.
- Visitors change. Winter often brings juncos, nuthatches and woodpeckers to feeders, while summer may bring more fledglings. A suet feeder near the camera can add woodpeckers in the cold months. Our guide to winter bird feeding covers what birds need then.
Troubleshooting common feeder camera problems
| Problem | Likely cause | Fix |
|---|---|---|
| Photos blurry | Dirty lens, swaying mount, bird too close, dim light | Clean lens; use a sturdy pole; move to brighter, indirect light |
| Birds look dark | Bright sky or sun behind the feeder | Turn the camera to face roughly north; use a darker background |
| Photos washed out | Sun shining into the lens, or a very dark background | Change the angle; avoid direct morning or evening sun |
| Missed visits or dropped livestream | Weak Wi-Fi at the feeder | Move feeder or router; add a mesh node or extender |
| Pairing fails | 5 GHz network, hidden SSID, camera plugged in | Use 2.4 GHz, WPA2, visible network; unplug before pairing |
| Hundreds of empty clips | Motion sensitivity too high; branches in view | Lower sensitivity; trim or move away from moving foliage |
| Birds eat out of frame | Low seed, extra perches, wrong seed | Keep seed topped up; remove nearby perches |
| No birds at all | New feeder, poor cover, wrong food | Give it time; see why birds are not coming to your feeder |
Common setup mistakes
- Choosing the spot for the view from your window, not for the light at the feeder.
- Mounting before testing Wi-Fi at the exact location.
- Hanging the feeder from a branch that moves in the breeze.
- Putting open sky behind the feeder, which turns birds into silhouettes.
- Ignoring the lens until the images look foggy.
- Setting motion sensitivity to maximum and then drowning in empty clips.
How we put this guide together
This guide is research-led and based on manufacturer setup and support documentation from Birdbuddy and Birdfy, placement and photography advice from BirdWatching magazine, bird-safety guidance from the Cornell Lab of Ornithology, and recurring patterns in verified owner feedback about feeder-camera setups. We have not performed hands-on testing of the products named. If you are weighing brands or subscription plans, see our Bird Buddy vs Birdfy comparison.
Sources
- Birdbuddy Support: Optimizing photo quality
- Birdbuddy Support: Connectivity and Wi-Fi requirements
- Birdbuddy Support: Issues with establishing a Wi-Fi connection
- Birdfy Help Center: Getting Started
- BirdWatching: How to set up a bird feeder camera
- Birdfy: What camera setting is best for birds?
- Cornell Lab All About Birds: Why birds hit windows and how you can help prevent it
Frequently asked questions
Which direction should a bird feeder camera face?
In most of the US, pointing the camera roughly north keeps the sun behind or beside it for much of the day, which avoids glare and silhouettes. The key is to keep morning and evening sun from shining straight into the lens. Check the livestream at different times of day and adjust the angle if birds look dark or washed out.
Why are my bird feeder camera photos blurry?
The most common causes are a dirty or water-spotted lens, a feeder that sways in the wind, birds landing closer than the camera's minimum focus distance, and dim light that forces slow exposures. Clean the lens with a microfiber cloth, mount the feeder on a sturdy pole, and move it to brighter, indirect light.
Do bird feeder cameras need 2.4 GHz Wi-Fi?
Many do. Birdfy's setup guide asks for a phone connected to a 2.4 GHz network, and Birdbuddy's original camera works on 2.4 GHz only, while Birdbuddy 2 supports both 2.4 and 5 GHz. The 2.4 GHz band also reaches farther and passes through walls better, which helps outdoor placement.
How high should I mount a bird feeder camera?
Birdfy recommends mounting its feeder on a pole at least 1.5 meters, about 5 feet, above the ground with a squirrel baffle. That height keeps it out of squirrel reach when paired with a baffle and puts the camera at a comfortable level for refilling and cleaning. Make sure the pole is sturdy enough not to sway.
How often should I clean a feeder camera lens?
Check it whenever photos look hazy and after rain, since water can splash from the perch onto the lens. Birdbuddy advises using a soft, lint-free microfiber or eyeglass cloth and avoiding paper towels, window sprays and alcohol. Clean the feeder itself every one to two weeks, as Birdfy suggests.