Photographing Birds Through a Window
Photographing birds through a window works if the glass is clean, the lens is pressed flat and square to it, and room lights are off. Here is the full method.
In this article
- Quick answer: the window photography checklist
- Why does glass make bird photos worse?
- How to set up a window for bird photography
- Where should feeders and perches go for window photos?
- What camera settings work best through glass?
- Can you photograph birds through a window with a phone?
- How do you edit photos taken through glass?
- What lens focal length do you need for window bird photos?
- Which birds make good window subjects around the world?
- Common mistakes when photographing birds through a window
- How do I keep window photography safe for birds?
- Does indoor photography disturb birds?
- Quick facts
- Sources
- Frequently asked questions
Photographing birds through a window works well if you control three things: the glass, the angle and the light. Use the cleanest, flattest pane you have, place the lens close to the glass and square to it, and turn the room dark behind you so there is nothing to reflect. Then use a fast shutter speed, at least 1/500 second, and focus on the bird, not the window. Done that way, many window shots are hard to tell from photos taken outdoors.
The advantage is huge. Birds at a feeder barely notice a person sitting quietly indoors, you can work in any weather, and you are not disturbing anything. The rest of this guide covers why glass degrades images, how to set up a window for photography, camera settings, phone techniques, and how to do it without making your windows more dangerous for birds.
Quick answer: the window photography checklist
- Clean both sides of one pane of glass thoroughly.
- Remove the insect screen, or open the window if weather allows.
- Turn off room lights and close curtains or doors behind you.
- Wear dark clothing.
- Put the lens as close to the glass as possible, ideally touching with a rubber hood, and keep it square to the pane.
- Focus manually or with a single, small autofocus point on the bird’s eye.
- Use a shutter speed of at least 1/500 second, faster for small active birds.
- Wait for heat shimmer to settle if the room is much warmer than outside.
Why does glass make bird photos worse?
Glass is an extra optical element that your lens was not designed to shoot through. Several separate problems can stack up.
Reflections
Glass reflects a small percentage of light from each surface. When the room behind you is brighter than the scene outside, those reflections show up as ghostly images, haze or reduced contrast. Lamps, a white shirt or a bright television are common culprits.
Distortion from uneven or angled glass
Modern float glass is quite flat, but older glass can be wavy, and large panes can flex slightly. Shooting through glass at an angle adds another problem: light is refracted as it passes through, and the more panes and the steeper the angle, the more the image softens and smears. Double and triple glazing mean four or six surfaces, each adding a little reflection and potential ghosting.
Coatings and tints
Low-emissivity (low-E) coatings, tints and some privacy or safety films can shift colors or reduce contrast. Color shifts are usually correctable in editing. Loss of contrast is harder to fix.
Dirt, condensation and rain
A smudge or dried raindrop becomes a soft blur in the image, or worse, grabs autofocus. Condensation on cold mornings is fatal to sharpness until it clears.
Heat shimmer
When a warm room meets cold glass, or when the sun heats the outside of a window, air currents near the glass create a wavy distortion called heat haze. It is most obvious with long lenses and distant subjects. It can make an otherwise perfect setup produce soft, rippled images.
How to set up a window for bird photography
Choose the right window
- Pick the pane closest to the birds. Distance through air magnifies every problem, so a feeder close to the window gives the best results.
- Prefer north or shade-facing windows for even light, or east-facing for warm morning light on birds, depending on where the sun hits your feeders.
- Look for a clean background. The ideal is a feeder or perch with distant trees or shrubs behind it, so the background blurs smoothly.
- Choose a window you can open. Even if you usually shoot through the glass, being able to open it on mild days is a big advantage.
Clean the glass properly
Clean both sides. Use a plain water and mild dish soap solution or a streak-free glass cleaner, then a squeegee and a lint-free cloth. Check the result by looking at the glass at an angle against the light. Any streak you can see will show in your photos.
Deal with the screen
Insect screens cut sharpness dramatically and can add a grid pattern. Remove the screen from your photo window if you can. Many screens pop out from the inside. If not, a wide aperture and a lens right against the screen blurs it somewhat, but results will be limited.
Kill the reflections
- Turn off lights in the room.
- Close curtains or blinds on other windows behind you.
- Wear dark, plain clothing.
- Use a rubber lens hood that folds against the glass, or drape a dark cloth or jacket over the camera and the glass around it.
Get close and square
Put the front of the lens as close to the glass as you can, touching if the hood is soft. This removes most reflections and means the lens only looks through a small, flat patch of glass. Keep the lens perpendicular to the pane. If a bird is at an angle, you often get a sharper result by moving your position or the perch than by tilting the lens.
Manage temperature
On cold days, wait until the room and the glass settle, and avoid shooting right next to a heating vent or radiator. Opening the window for a few minutes before a session can equalize temperature, though you then need to wait for air to stop moving. On sunny days, heat rising off the outside of the glass or the sill can create shimmer too. Shaded windows are easier.
Where should feeders and perches go for window photos?
Placement matters for both image quality and bird safety.
Distance from the glass
The American Bird Conservancy and the Cornell Lab recommend placing feeders either very close to windows, within about 3 feet, or far away, more than 30 feet. Birds leaving a close feeder cannot build up enough speed to be badly hurt if they hit the glass, and birds at a distant feeder are less likely to fly toward the house. The middle distance is the most dangerous. Our guide on where to put a bird feeder covers this in detail.
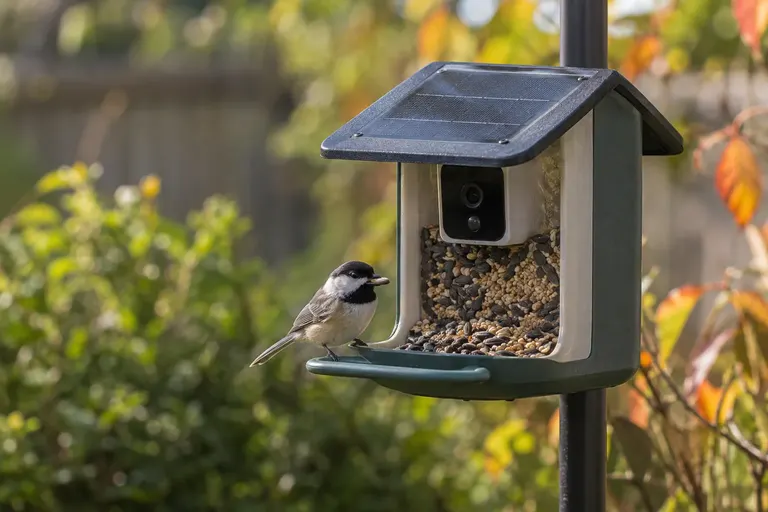
For photography, close feeders give frame-filling shots even with modest lenses. A window-mounted feeder is the most extreme version and suits phones and short lenses. See our window bird feeder roundup if you want that approach.
Natural perches
Birds landing on a feeder rarely make an appealing photo. A better plan is to place a natural-looking perch, such as a lichen-covered branch or a flowering stem, a foot or two from the feeder. Birds often land on it before or after feeding. Position it so the background behind it is distant and uncluttered.
Background
The farther the background is from the bird, the softer it blurs. A feeder right against a fence or wall gives a busy, sharp background. Move perches so the scene behind the bird is at least several times farther away than the bird is from you.
What camera settings work best through glass?
These are starting points for an interchangeable-lens camera. Adjust for your light and gear.
| Setting | Suggested starting point | Why |
|---|---|---|
| Shooting mode | Aperture priority or manual with auto ISO | Keeps control of depth of field and shutter speed |
| Aperture | Wide open or one stop down | More light, blurs background and window flaws |
| Shutter speed | 1/500 s minimum, 1/1000 to 1/2000 s for small active birds | Freezes movement and hand shake |
| ISO | Auto, with a sensible upper limit for your camera | Maintains shutter speed as light changes |
| Autofocus | Single point or small zone, continuous mode for moving birds | Stops focus locking onto the glass |
| Drive | Burst | More chances for a sharp frame with a good pose |
| Stabilization | On for handheld, as the camera manual recommends for tripods | Reduces blur |
Focus problems through glass
Autofocus systems sometimes lock onto a speck on the glass, especially with wide autofocus areas. Use a single, small focus point on the bird’s eye. If the camera still hunts, switch to manual focus, prefocus on the perch, and wait for the bird to land. Bird-eye detection autofocus on recent cameras usually works well through clean glass.
Stability
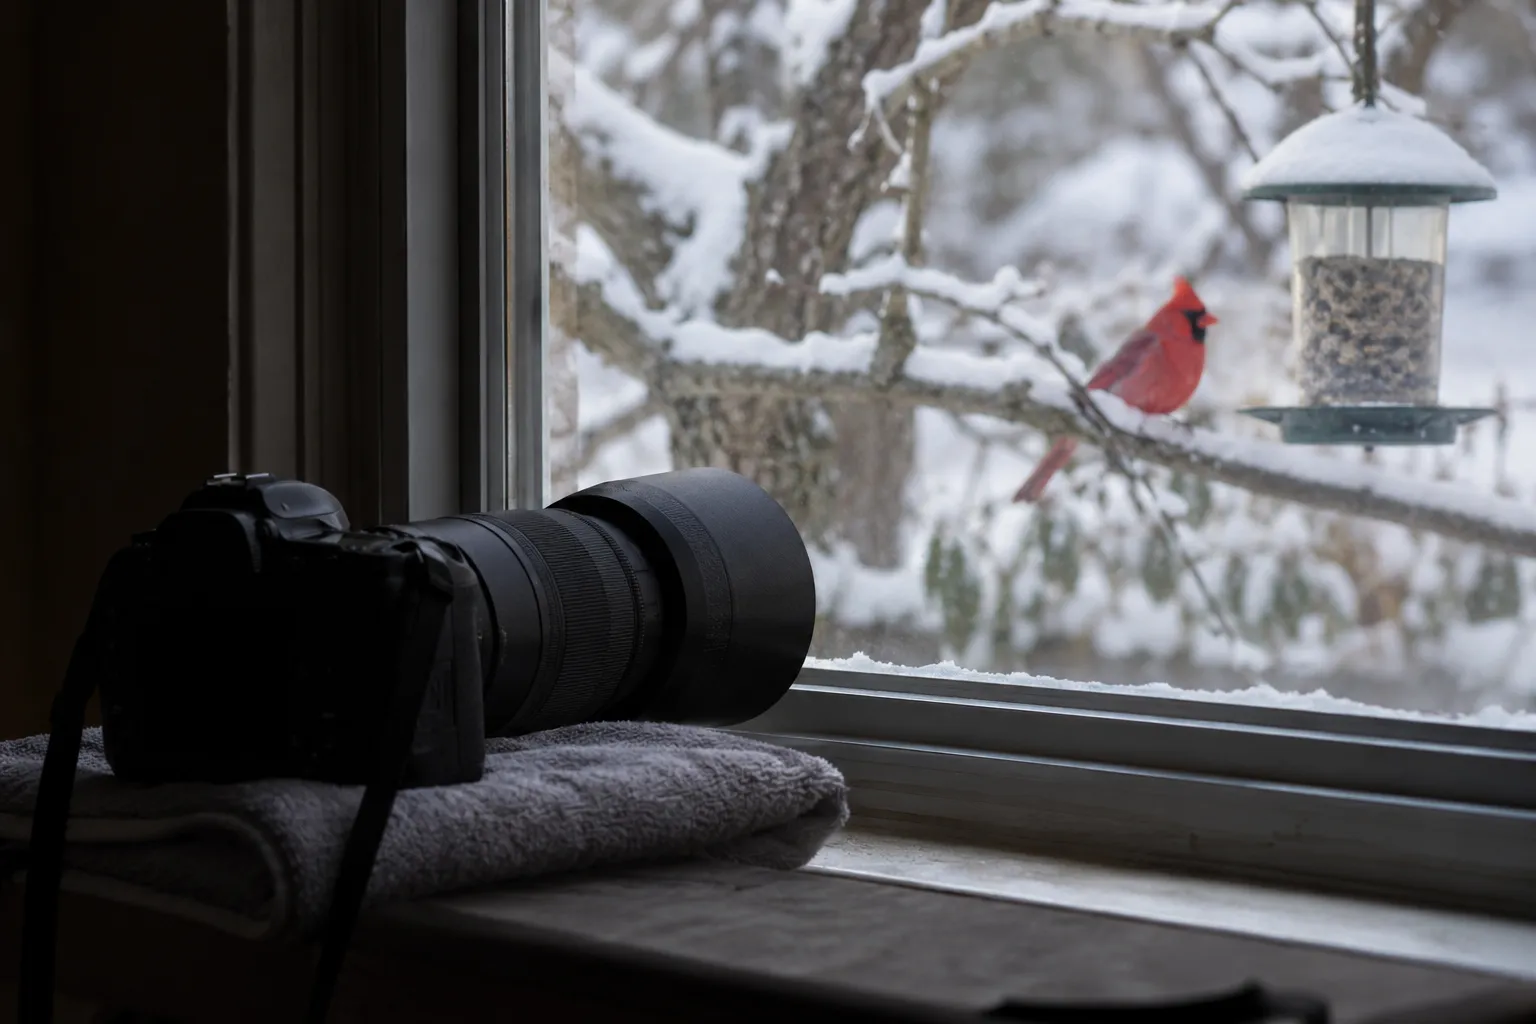
Rest the lens on a beanbag or folded towel on the sill, or use a tripod set up close to the window. Keep the lens itself from pressing hard against the glass on a tripod, because vibrations from the house or the glass can travel into the camera.
Can you photograph birds through a window with a phone?
Yes, especially at a close feeder.
- Clean the glass and put the phone lens against it. This removes most reflections.
- Use the main camera, not the ultra-wide. The main camera usually has the best sensor and lens.
- Use the phone’s telephoto lens if it has one, and keep digital zoom modest to avoid mushy detail.
- Tap on the bird to focus and set exposure. Many phones let you lock focus with a long press.
- Use burst mode or shoot video and pull frames afterward.
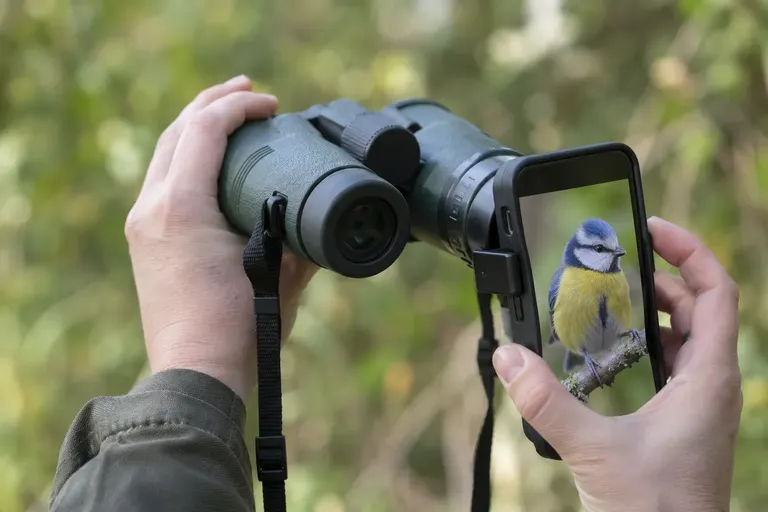
For more distant birds, pairing a phone with binoculars works surprisingly well. See our guide to phone photos through binoculars. A dedicated feeder camera is another option for close-up images without anyone at the window, and our feeder camera setup guide covers placement and settings.
How do you edit photos taken through glass?
Some loss of contrast and a slight color cast are normal. Most editing apps can fix these.
- Correct white balance. Tinted or coated glass often adds a green or blue cast. Use a neutral area, such as a gray feeder pole or snow, to set white balance.
- Add contrast and remove haze. A small dehaze or clarity adjustment restores punch lost to glass reflections. Go easy, or feathers look crunchy.
- Crop carefully. Close feeders let you fill the frame. Crop for composition, not to rescue a bird that was too small, since cropping magnifies glass flaws too.
- Remove specks. A healing tool fixes small blurs from dust or raindrops.
Always keep edits honest: removing a stray feeder pole is common practice, but if you enter contests or share images as wild bird photos, follow their rules on what alterations are acceptable.
What lens focal length do you need for window bird photos?
Less than most people expect, because a well-placed feeder brings birds close. As a rough guide on a full-frame camera:
- Feeder within 3 feet: a 100 to 200 mm lens, or a macro lens, can fill the frame with a chickadee or a finch. Phones work well here too.
- Perches 6 to 15 feet away: 300 to 400 mm gives frame-filling portraits of songbirds.
- Birds 20 feet or more away: 500 to 600 mm or longer, and this is where glass flaws and heat shimmer become most visible.
On cameras with smaller sensors, the same lens gives a tighter field of view, so a 300 mm lens on an APS-C body frames the scene roughly like 450 to 480 mm on full frame. Bridge cameras with long zoom ranges are popular for window birding because they reach far without a heavy lens, although their small sensors struggle in dim winter light.
The general rule holds for every setup: the closer the bird, the less glass and air the light has to travel through, and the sharper the result. Moving a perch closer usually beats buying a longer lens.
Which birds make good window subjects around the world?
Any bird that visits feeders or garden plants near the house is a candidate. Species that pause and perch are easiest to start with.
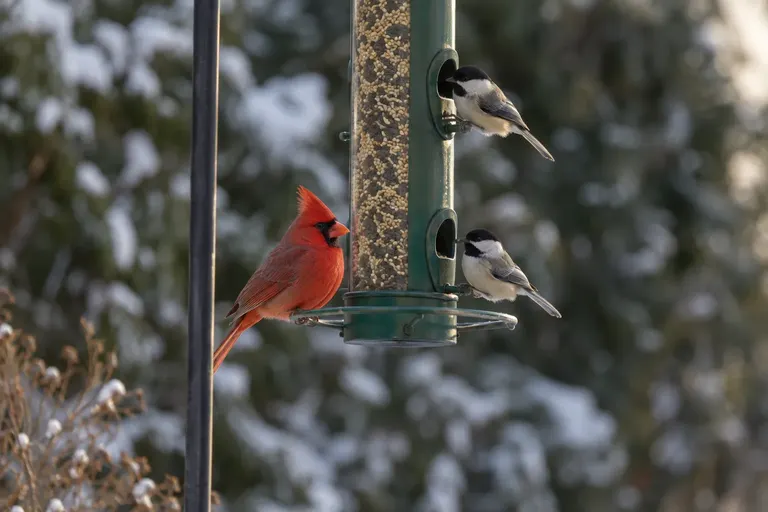
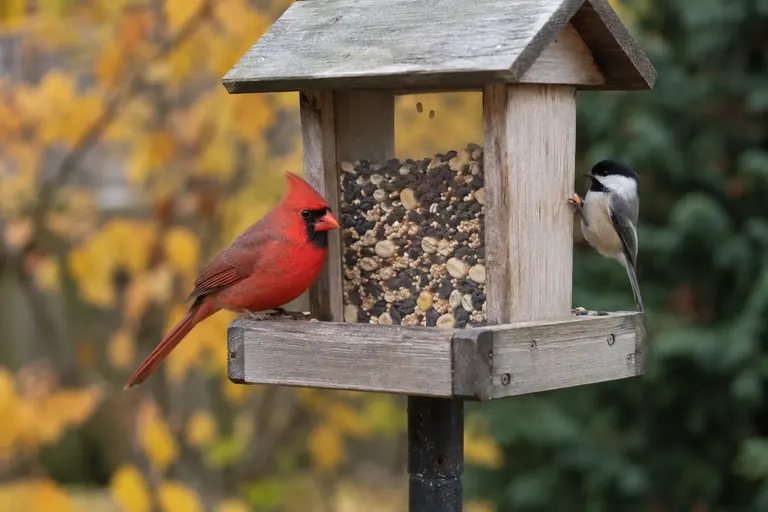
- North America: Northern Cardinals, Blue Jays, chickadees, titmice, nuthatches, Downy Woodpeckers and Dark-eyed Juncos all pause long enough for clean frames. Hummingbirds at a nectar feeder are a harder challenge that rewards fast shutter speeds.
- Britain and Europe: Blue Tits, Great Tits, European Robins, Common Blackbirds, goldfinches and Great Spotted Woodpeckers are regular feeder visitors.
- Turkey and the eastern Mediterranean: Great Tits, goldfinches, House Sparrows, Eurasian Collared Doves and, in some towns, Laughing Doves come close to balconies and windows.
- Brazil: Bananaquits, Sayaca Tanagers, Rufous-bellied Thrushes and several hummingbird species visit fruit and nectar feeders near windows, often in bright tropical light that allows very fast shutter speeds.
Winter often gives the best results in cold regions: birds visit feeders heavily, snow brightens the scene, and trees without leaves let more light reach the perch.
Common mistakes when photographing birds through a window
- Shooting at an angle through double glazing. This is the most common cause of soft, doubled images.
- Leaving the room lights on. Reflections destroy contrast.
- Focusing on the glass. Wide autofocus areas often grab a smudge.
- Shooting through the screen. No setting fixes this.
- Using a slow shutter speed. Chickadees and finches move constantly. Freeze them.
- Ignoring heat shimmer. If images look rippled, wait or change windows.
- Moving feeders to an unsafe distance. A feeder 10 to 15 feet from a large window can raise collision risk.
- Removing collision markings from every window. Keep bird-safe treatments on windows you do not use for photography.
How do I keep window photography safe for birds?
Window collisions kill vast numbers of birds. A frequently cited 2014 study estimated that between roughly 365 million and 988 million birds die from building collisions in the United States each year, most of them at homes and low-rise buildings. Our explainer on why birds fly into windows explains why glass is invisible to birds.
That creates a tension. The treatments that stop collisions, such as dot patterns, films, cords and external screens, can get in the way of photos. Some ways to balance both:
- Use one photo window. Keep collision deterrents on every other window, especially large ones and those that reflect trees and sky.
- Treat the photo window when you are not using it. Removable external screens, hanging cords or temporary markers can go back up after a session.
- Keep feeders close. Feeders within about 3 feet of the glass are both safer and better for photography.
- Open the window instead. On mild days, shooting through an open window avoids all glass problems.
- Check for strikes. If you see or hear birds hitting the photo window, treat it immediately. See how to stop birds hitting windows.
Does indoor photography disturb birds?
Much less than photography outdoors, which is part of its appeal. Birds at a feeder become used to movement behind glass, especially if you move slowly and keep the room dark. Avoid sudden motions right against the window, flash, and tapping on the glass. Flash through glass also bounces straight back into the lens, so it rarely helps anyway.
For wider guidance on photographing birds responsibly, see bird photography ethics.
Quick facts
- Clean glass, a dark room and a lens pressed square to the pane solve most window-photo problems.
- Double or triple glazing shot at an angle causes softness and ghosting.
- Heat shimmer from temperature differences can blur long-lens shots.
- A shutter speed of 1/1000 second or faster suits small active birds.
- Feeders within about 3 feet of a window are safer for birds and give better photos.
- Keep collision deterrents on windows you are not using for photography.
Sources
Frequently asked questions
Can you get sharp bird photos through a window?
Yes, often surprisingly sharp ones, if the glass is clean and flat, the lens is close to the glass and square to it, and the shot is not taken through heat haze. Old, wavy or heavily tinted glass, multiple panes at an angle and insect screens reduce sharpness. An open window is always best when weather and the birds allow it.
How do I stop reflections when photographing through glass?
Turn off the room lights, wear dark clothing, close curtains behind you and press a rubber lens hood or a dark cloth against the glass so no light reaches the front of the lens from the room side. Reflections come from bright objects behind you, so darkening the room is the single most effective fix.
Why are my photos through a window blurry or doubled?
Common causes are dirty glass, shooting at an angle through double or triple glazing, autofocus locking onto the glass or a smudge, heat shimmer from a warm room meeting cold glass, and a slow shutter speed. Clean both sides of the glass, shoot square to it, focus on the bird's eye and use a fast shutter speed.
Should I remove the window screen to photograph birds?
Yes, if you can. Insect screens soften the whole image and can create a grid pattern. If removing the screen is not possible, placing the lens as close to the screen as possible and using a wide aperture helps blur it, but results will never match clear glass or an open window.
Does photographing birds through a window increase window collisions?
It can if you remove collision deterrents or move feeders to dangerous distances for the sake of a clear shot. Keep feeders within about 3 feet of the glass or more than 30 feet away, and use one dedicated, treated or cleaned photo pane rather than stripping markings from all windows.