How to Find Birds With Binoculars Fast: 4-Second Method
How to find birds with binoculars fast: lock your eyes on the bird, raise the binoculars without looking away, use landmarks, and pick a wide field of view.
If you buy through links on this page we may earn a commission, at no cost to you. It never decides what we recommend. How we earn
In this article
- Quick answer: the four-second method
- Why birds disappear when you raise binoculars
- The core technique: eyes on the bird, binoculars to the eyes
- Set up your binoculars so finding birds is easier
- Choose binoculars with a wide field of view
- Use landmarks to guide your eye
- How to follow birds that move
- How to scan for birds you cannot see yet
- Use sound and movement to find birds first
- Practice drills that build the skill
- Common mistakes
- Tips for glasses wearers and kids
- Steady hands help you find birds faster
- Binoculars that make finding birds easier
- How we put this guide together
- Sources
- Gear mentioned in this guide
- Frequently asked questions
Here is how to find birds with binoculars fast: never take your eyes off the bird. Look at it, keep your head still, and bring the binoculars up to your eyes rather than moving your eyes to the binoculars. Add three helpers: binoculars set up correctly for your eyes, focus preset to the likely distance, and a wide field of view, about 330 to 440 ft at 1,000 yards in a typical 8x42, and you will land on most birds on the first try.
Nearly every beginner struggles with this. The bird is right there with the naked eye, then vanishes into a green blur the moment the binoculars go up. It is a skill, not a gift, and a few simple techniques plus a little practice fix it.
Quick answer: the four-second method
- See the bird with both eyes and note a landmark beside it: a fork in a branch, a knot, a feeder hook.
- Keep your eyes locked on the bird. Do not glance down at the binoculars.
- Raise the binoculars straight up into your line of sight, sliding them in front of your eyes while your head stays still.
- If the bird is not there, look for your landmark, then move to the bird from there.
The rest of this guide explains why this works, how to set up your binoculars so it works better, and how to practice.
Why birds disappear when you raise binoculars
Two things happen at once when you lift binoculars.
First, your field of view shrinks. With the naked eye you see a wide scene. Through 8x binoculars you see a small circle of it, magnified. A typical 8x42 shows about 330 to 440 ft of width at 1,000 yards, a small slice of your natural view. If the binoculars point even slightly off, the bird is outside that slice.
Second, most people look down at the binoculars as they lift them, or turn their head slightly. That breaks the line between your eyes and the bird. When the binoculars arrive, they point where your head drifted, not where the bird is.
The fix is to make your eyes and head the fixed point and move only the binoculars.
The core technique: eyes on the bird, binoculars to the eyes
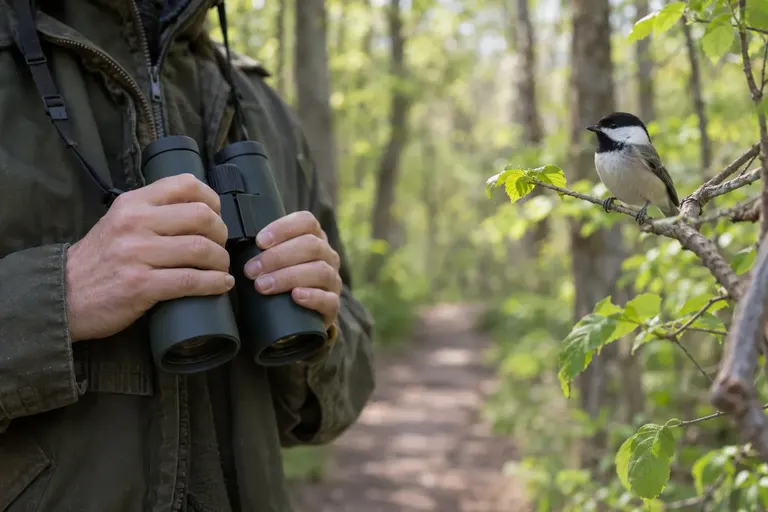
Flathead Audubon Society passes on a tip from naturalist John Muir Laws: point your nose at the bird and keep it pointed there while you lift the binoculars. It is the same idea, in a form that is easy to remember.
Step by step
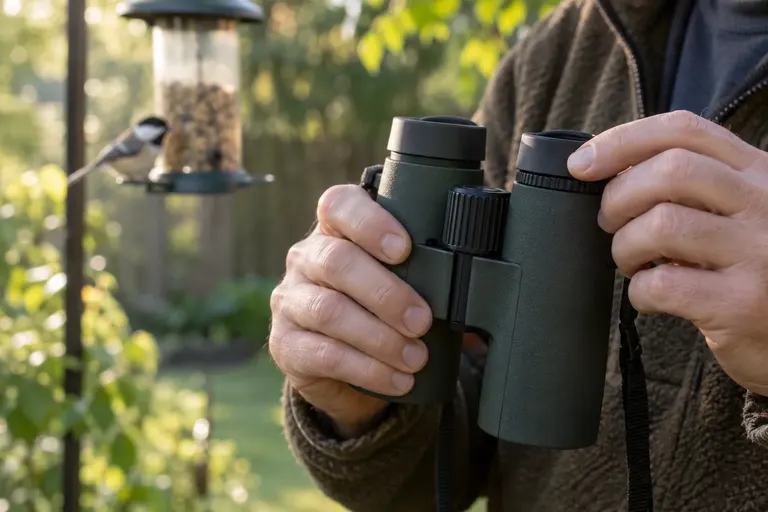
- Hold the binoculars ready. Keep them at chest height, in both hands, eyecups pointing up. If they hang low on a long strap, you have to reach for them, and that movement pulls your eyes away.
- Find the bird with both eyes. Stand square to it. Face it with your whole body, not just your head.
- Pick a landmark. Note something distinctive next to the bird, such as a broken twig, a patch of lichen or the corner of a feeder.
- Lock your gaze. Keep looking at the bird while you raise the binoculars.
- Bring the binoculars up, not your head down. Slide them up into your line of sight and settle them against your eyes (or glasses).
- Focus. If the bird is fuzzy, turn the center wheel. If you preset focus, this is a small tweak.
If the bird is not in view
Do not wave the binoculars around. Lower them just enough to look over the top, find the bird again, and repeat. Flathead Audubon recommends looking over the top of the binoculars when a bird moves, rather than lowering them all the way. This keeps your hands in position and makes the second attempt faster.
Set up your binoculars so finding birds is easier
A binocular that is not fitted to your face makes finding birds much harder. If the image is shaded, split into two circles or blurry in one eye, you will lose birds even with good technique.
Barrel width and eyecups
Fold the barrels until you see one clean circle. Set the eyecups up if you do not wear glasses and down if you do. A shrunken view with a dark ring, which happens when eyecups are wrong for glasses, cuts your field of view and makes birds harder to catch. Our guide on how to adjust binoculars covers every step.
Diopter
Set the diopter once so both eyes are sharp at the same time. If one eye is soft, your brain struggles to lock on, and you will hunt for focus when you should be looking at the bird.
Preset the focus
This is one of the most useful habits. Before a bird arrives, focus on the spot where birds usually appear: the feeder, the birdbath or the edge of a hedge. When a bird lands, it will already be close to sharp. On a walk, focus at a middle distance, such as 50 ft, so you need only a small turn in either direction.
Carry position
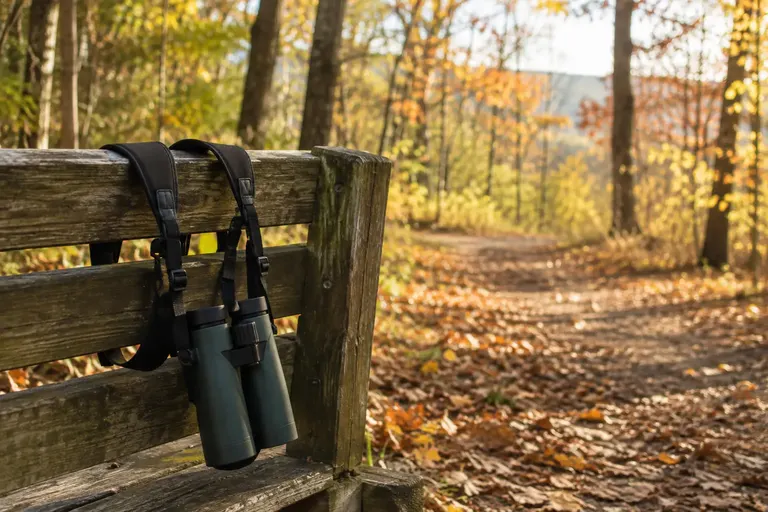
A harness or a short strap keeps binoculars at chest height, ready to lift in one smooth move. A long strap lets them swing to your belly, which slows everything down. See our picks for binocular harnesses and straps.
Choose binoculars with a wide field of view
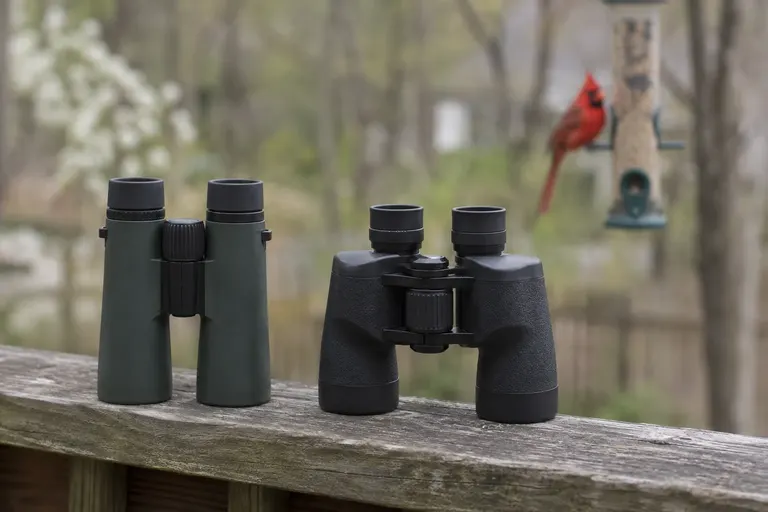
Field of view, the width of the scene you see, has a large effect on how easily you find birds. It is listed in feet at 1,000 yards, or as an angle in degrees. To convert degrees to feet at 1,000 yards, multiply by about 52.4.
| Binocular | Magnification | Field of view (maker spec) |
|---|---|---|
| Nikon Action EX 7x35 (porro) | 7x | 9.3°, about 487 ft at 1,000 yd |
| Nikon Monarch M7 8x42 | 8x | 435 ft at 1,000 yd |
| Celestron Nature DX ED 8x42 | 8x | 393 ft at 1,000 yd |
| Nikon Monarch M5 8x42 | 8x | 335 ft at 1,000 yd |
The widest binocular in that table shows almost half again as much width as the narrowest. That extra margin means a small error in aim still puts the bird in view.
Why 8x is easier than 10x
Higher magnification narrows the field and magnifies hand shake. Cornell Lab’s beginner tips say 8x strikes the best balance between magnification and a wide field, so birds do not keep leaving your frame. If you are choosing between powers, our comparison of 8x42 vs 10x42 for birding goes into detail. For newer birders, 8x is almost always the easier place to start, and our list of binoculars for beginner birders focuses on that.
Use landmarks to guide your eye
When a bird is in a large tree full of similar branches, even a perfect lift may land you in the wrong spot. Landmarks solve this.
The two-step landmark method
- With the naked eye, find something obvious near the bird: a dead branch, a bright leaf cluster, a gap in the canopy.
- Raise the binoculars to that landmark first. Once you see it, follow a branch or line from it to the bird.
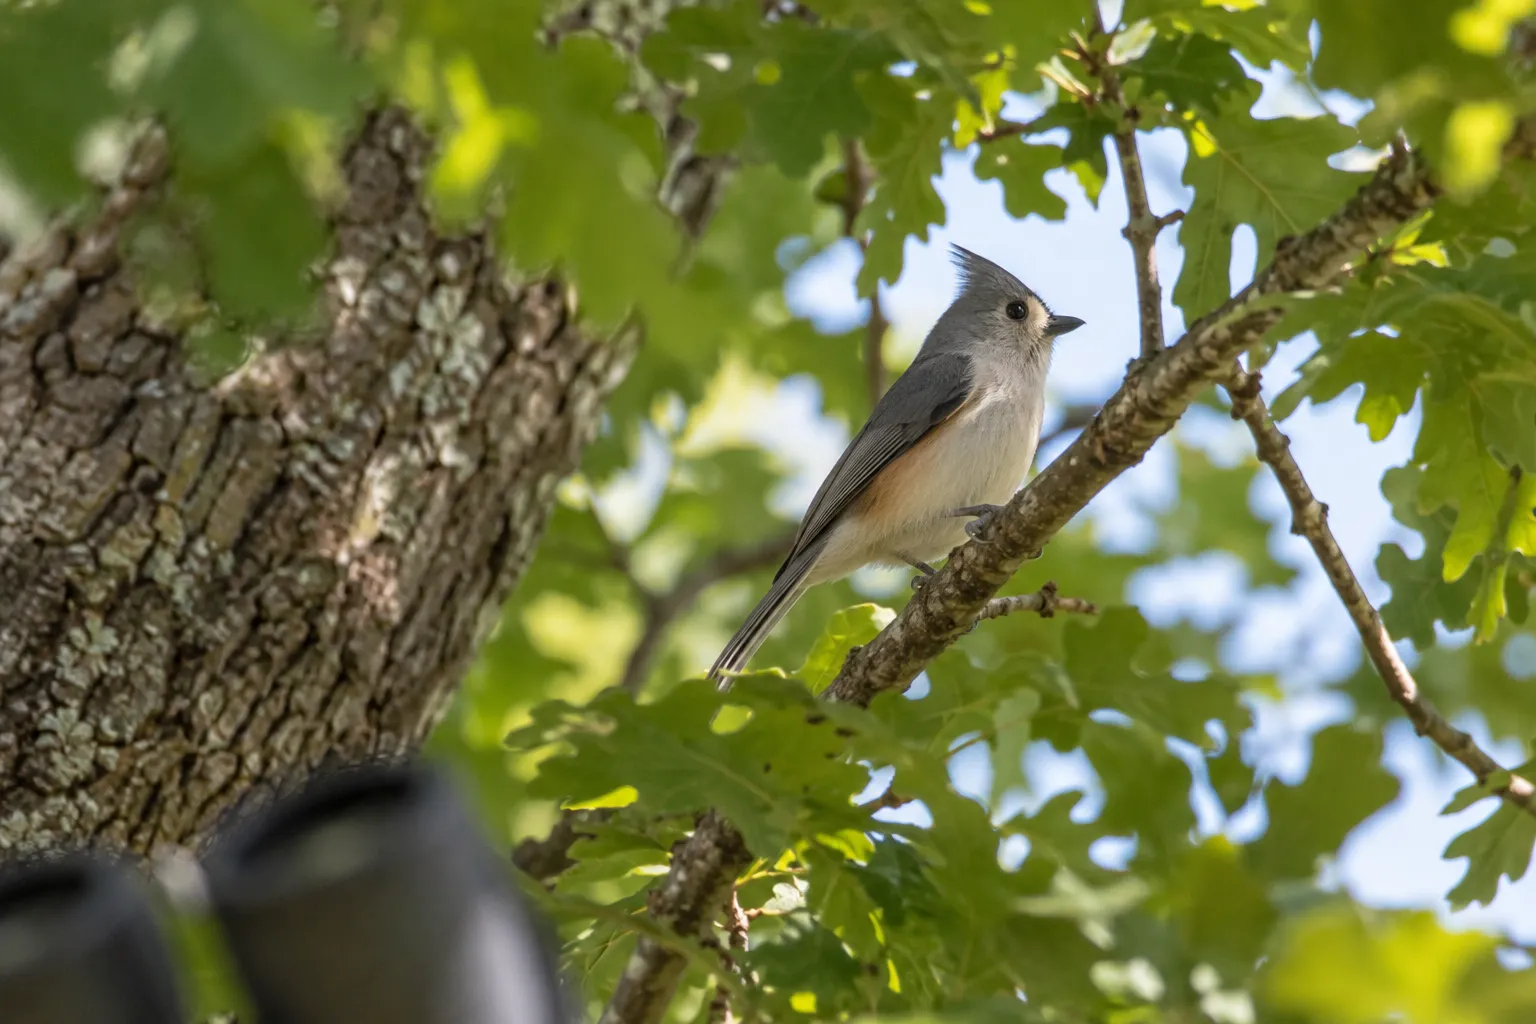
The larger and more distinct the landmark, the faster this works. It is especially useful with small, busy birds such as kinglets, warblers and titmice.
Describing a bird’s location to someone else
Birding with a partner or a group? Use the same system. “Big dead branch on the left, go up to the fork, bird is just right of the fork.” Many birders also use a clock face: “tree in front of us, bird at two o’clock, halfway out.” Both work better than “it’s in that tree.”
How to follow birds that move
Birds hopping through trees
Small birds rarely sit still. When a bird moves out of view, resist the urge to sweep the binoculars around. Lower them slightly, find the bird with your naked eye, and lift again. Two quick lifts usually beat ten seconds of sweeping.
Birds in flight
Track flying birds with both eyes open and a smooth swing of your upper body, not your arms alone. Keep the focus set a little beyond the bird so it stays roughly sharp as it moves. Large birds such as hawks, vultures and herons are much easier to follow than small songbirds.
Birds at the feeder
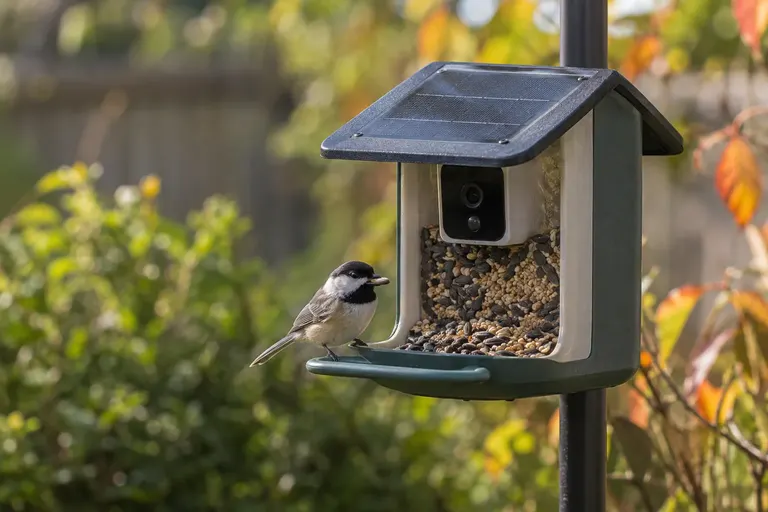
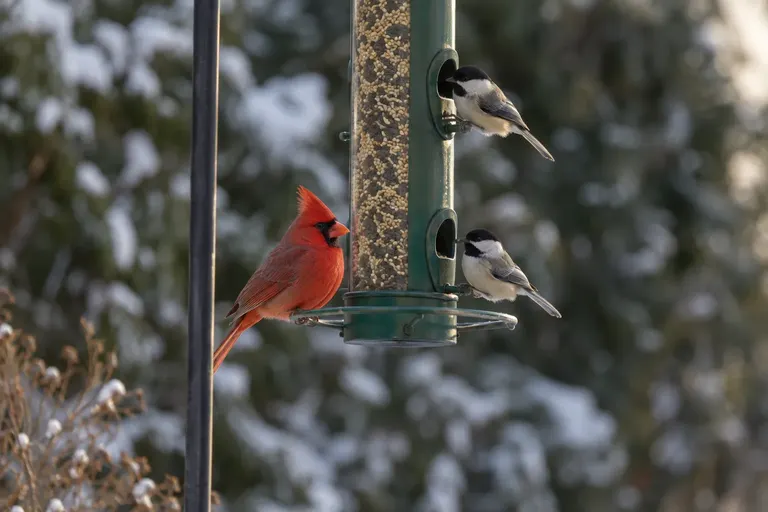
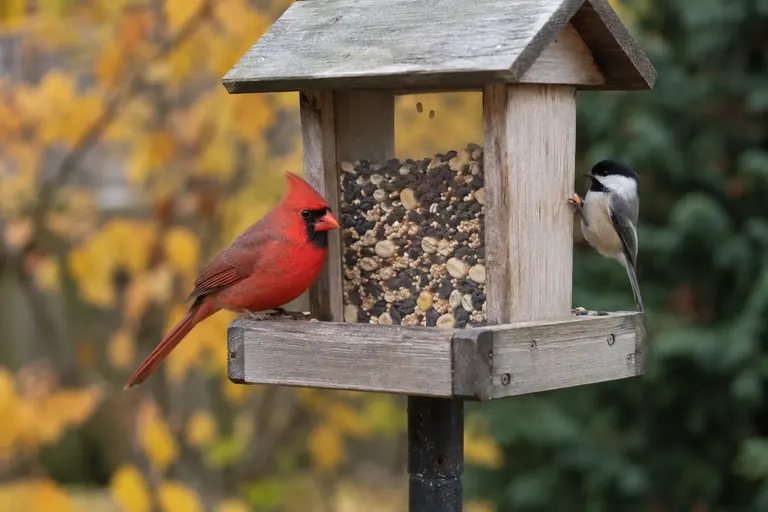
Feeder birds are the easiest practice targets. They return to the same spot, and you can preset focus. If birds leave the feeder quickly, note where they go. Chickadees and titmice often carry a seed to a nearby branch to eat it, so preset focus on those perches too.
How to scan for birds you cannot see yet
The technique above assumes you have already seen the bird. Scanning with binoculars helps you find birds you would otherwise miss.
David Sibley describes a simple routine in BirdWatching magazine:
- Set focus on a distant treetop, then scan slowly left or right along the horizon.
- Raise the binoculars slightly and reverse direction, covering the band of sky just above your first sweep. Repeat a few times.
- Check edges. Hedgerows, tree lines, fence posts, bare snags and field edges are where birds tend to perch.
- When you find one bird, look around it. Birds often travel in groups, so check the area along its path for companions.
- Check clouds. Birds stand out against a cloudy backdrop.
In the yard, the same idea applies at a smaller scale. Scan the top of a hedge, the dead branches of a tree and the edges of a lawn instead of staring into dense foliage.
Use sound and movement to find birds first
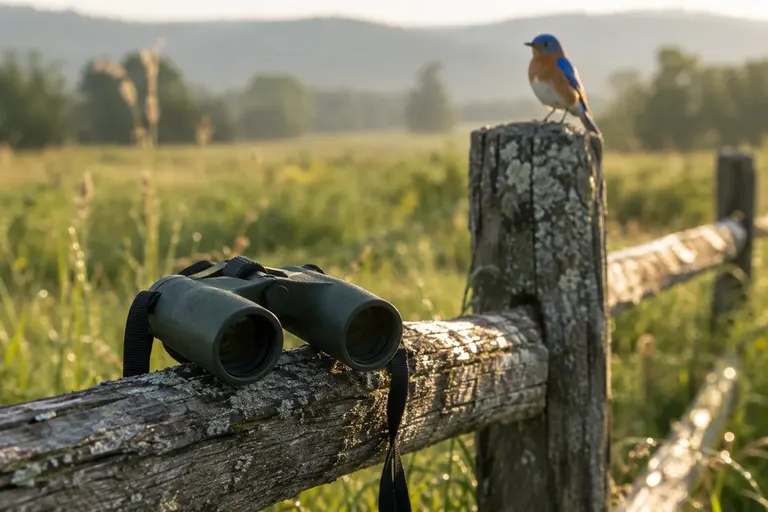
Many birds are heard before they are seen. Turning toward a call or song points you in the right direction before you raise the binoculars. Merlin Sound ID can help you learn which voices belong to which birds; our guide on using Merlin Sound ID without getting fooled explains how to use it well.
Movement is the other big clue. Your peripheral vision is very good at spotting motion. When a leaf flicks or a branch bounces, look straight at that spot, pick a landmark and lift. For more on what to notice once the bird is in view, see how to identify birds.
Timing matters too. Birds are most active and vocal in the early morning, which makes them easier to find. Our guide to the best time of day to see birds covers daily and seasonal patterns.
Practice drills that build the skill
Like any hand-eye skill, finding birds gets faster with repetition. These drills take a few minutes a day.
- Fixed-target lifts. Pick a sign, a feeder or a house number. Look at it, then raise the binoculars without looking away. Repeat 20 to 30 times. Aim to land on the target every time.
- Small-target lifts. Choose smaller targets, such as a single leaf or a knot on a tree trunk. This mimics a bird in foliage.
- Moving targets. Follow a dog, a car at a distance or a leaf blowing across a lawn. This builds smooth tracking.
- Feeder sessions. Watch the feeder for ten minutes and try to catch every bird that lands. Birds that stay a few seconds are ideal practice.
- Landmark drills. Have a partner call out a landmark in a tree (“the Y-shaped branch”). Find it in your binoculars as quickly as possible.
Flathead Audubon’s advice on this is realistic: some birds will still slip away before you get the binoculars on them. That is part of birding, and it happens to experienced birders too.
Common mistakes
| Mistake | Why it happens | Fix |
|---|---|---|
| Looking down at the binoculars | Habit; wanting to find the eyecups | Keep eyes on the bird; bring binoculars up to your eyes |
| Sweeping the binoculars around | Panic when the bird is not in view | Lower slightly, relocate with naked eye, lift again |
| Focus set far from the bird’s distance | Focus left at the last target | Preset focus on the feeder or a middle distance |
| Image shaded or doubled | Barrel width or eyecups set wrong | Refit the binoculars to your face |
| Too much magnification | Chose 10x or 12x for “more detail” | Use 8x for active birds in trees |
| Binoculars hanging too low | Long strap | Shorten the strap or use a harness |
| Standing at an angle to the bird | Turning only your head | Face the bird with your whole body |
Tips for glasses wearers and kids
If you wear glasses
Twist the eyecups down and press the binoculars lightly against your lenses so they rest in the same spot each time. Consistent placement helps you find birds faster, because the view appears in the same place every lift. Eye relief of about 15 mm or more usually lets glasses wearers see the full field.
Helping kids find birds
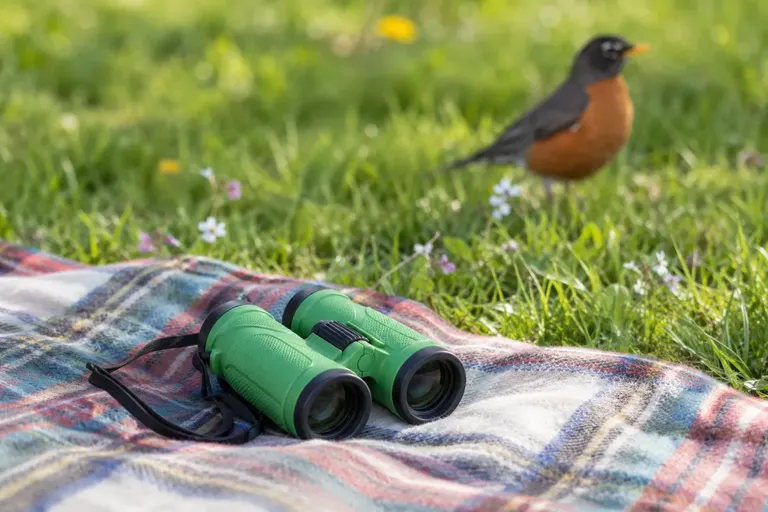
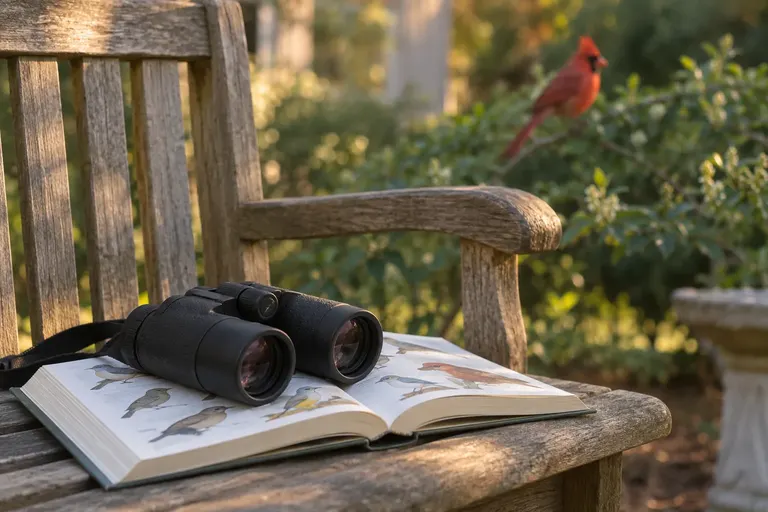
Children often find binoculars frustrating at first. Start with large, slow birds such as robins on a lawn or ducks on a pond. Use the landmark method and practice on toys or signs first. Our guide on birding with kids has more ideas.
Steady hands help you find birds faster
A shaky view makes a bird look like it is jumping around the frame, and that makes it harder to know whether you are on the right branch. A few small changes steady the image:
- Tuck your elbows against your chest instead of holding them out to the sides.
- Rest your index fingers on top of the barrels and focus with your middle finger, which gives a firmer grip.
- Lean on something. A porch post, a door frame or a car roof makes a stable brace.
- Breathe out slowly as you settle on the bird, the same way photographers steady a camera.
- Sit down at the window. For feeder watching, a chair with armrests turns your arms into a tripod.
Weight matters here too. Very heavy binoculars tire your arms, and tired arms shake. If you find long sessions tiring, a pair closer to 20 oz than 30 oz may help.
Binoculars that make finding birds easier
Technique matters more than gear, but a wide field of view and close focus give you a bigger margin for error. These two picks are based on manufacturer specs and independent reviews, not hands-on testing.
Nikon Monarch M7 8x42
The Monarch M7 lists a 435 ft field of view at 1,000 yards, which is wide for an 8x42. It adds ED glass, phase-coated prisms with a dielectric coating and a waterproof body. The 8.2 ft close focus covers most feeder setups, and it weighs 23.6 oz.
Skip it if you wear thick-framed glasses and want maximum eye relief; its 17.1 mm is good but not the longest in its class.
Celestron Nature DX ED 8x42
A more budget-friendly option with a roomy 393 ft field, a short 6.5 ft close focus and 17.8 mm of eye relief. It is waterproof and uses phase-coated BaK-4 prisms with ED objective lenses.
Skip it if you often view birds against bright sky; the Cornell Lab’s reviewers noted it can lose detail and color in backlit scenes.
How we put this guide together
This guide draws on published advice from the Cornell Lab of Ornithology, Flathead Audubon Society and David Sibley, together with manufacturer specifications from Nikon and Celestron for the field-of-view comparisons. The binocular picks are based on specs, independent expert reviews and patterns in verified owner feedback. We have not performed hands-on testing of these models.
Sources
- Flathead Audubon Society: How to catch that bird in your binoculars
- BirdWatching: How to use your binoculars to find more birds (David Sibley)
- Cornell Lab of Ornithology: Get Started Using Binoculars (PDF)
- Nikon Monarch M7 8x42 specifications
- Nikon Action EX series specifications
- Celestron Nature DX ED 8x42 specifications
- Cornell Lab All About Birds: Celestron Nature DX ED 8x42 review
Gear mentioned in this guide
Nikon Monarch M7 8x42
A wide 435 ft field of view at 8x makes it easier to land on a bird the first time, with ED glass and phase-coated prisms.
- Best for
- Birders who struggle to get active birds into view and want a wide, forgiving field.
- Skip it if
- You wear thick-framed glasses and need the longest possible eye relief.
- Field of view
- 435 ft at 1,000 yd (8.3°)
- Eye relief
- 17.1 mm
- Close focus
- 8.2 ft
- Weight
- 23.6 oz
Celestron Nature DX ED 8x42
A roomy 393 ft field and 6.5 ft close focus in an entry-level, waterproof binocular with ED glass.
- Best for
- Newer birders who want a wide view and close focus for feeder birds on a modest budget.
- Skip it if
- You view a lot of birds against bright sky; reviewers note it can lose detail in backlit scenes.
- Field of view
- 393 ft at 1,000 yd
- Eye relief
- 17.8 mm
- Close focus
- 6.5 ft
- Weight
- 24.9 oz
Frequently asked questions
Why can't I find birds in my binoculars?
Usually because you look away from the bird as you lift the binoculars, so you lose track of where it was. Other common causes are a narrow field of view from high magnification, binoculars focused for a very different distance, and eyecups or barrel width set wrong so you see a small or shaded image. Fixing technique and setup solves most cases.
Is 8x or 10x easier for finding birds?
8x is easier. Lower magnification gives a wider field of view and a steadier image, so the bird is more likely to be in the frame when you raise the binoculars. 10x shows more detail, but the narrower view and extra shake make it harder to find small, active birds in trees.
How do you follow a bird that flies?
Lower the binoculars just enough to look over the top of them, watch where the bird lands, then raise them again while keeping your eyes on that spot. For birds in flight, swing smoothly with the bird and keep both eyes open. Trying to track a small flying bird at 10x is hard even for experienced birders.
How long does it take to get good at finding birds in binoculars?
Most people improve noticeably within a few short practice sessions. Raising the binoculars to a fixed target 20 or 30 times a day builds the muscle memory quickly. Birds in open spots come first; small birds moving in leafy trees take longer. Regular use, even a few minutes a day at the feeder, is the fastest path.
Should I keep both eyes open when using binoculars?
Yes. Binoculars are designed for both eyes, and your brain combines the two views. Before lifting them, look at the bird with both eyes. Keep both eyes open through the binoculars too. Closing one eye is only needed when setting the diopter, not during normal viewing.