Birding for Beginners: The Gear You Actually Need
Birding for beginners needs little gear: a waterproof 8x42 binocular, the free Merlin app, eBird or a notebook, and a field guide. Here is what to skip too.
If you buy through links on this page we may earn a commission, at no cost to you. It never decides what we recommend. How we earn
In this article
- Quick answer: the beginner birding kit
- What binoculars should a beginner birder buy?
- What apps do beginner birders use?
- Do you need a field guide to start birding?
- How should you keep track of the birds you see?
- What should you wear birding?
- How to find a bird in your binoculars
- Can you take bird photos with a phone?
- Is birding accessible for older adults and people with limited mobility?
- Should beginners put up a bird feeder?
- What gear can beginners skip?
- How to start birding: your first four weeks
- Where should beginners go birding?
- Common beginner mistakes
- Sources
- Gear mentioned in this guide
- Frequently asked questions
Birding for beginners takes far less gear than most people expect. You need a waterproof 8x42 binocular, the free Merlin Bird ID app, a way to record what you see, and, ideally, a field guide for your region. That is it. A spotting scope, a camera, special clothing and a second pair of binoculars can all wait until you know what kind of birding you enjoy.
This guide covers what each piece of gear does, what to look for, what to skip, and how to spend your first few weeks so the gear actually gets used.
Quick answer: the beginner birding kit
| Gear | Essential? | What to look for |
|---|---|---|
| Binoculars | Yes | 8x42 or 8x32, waterproof, close focus under 10 ft, eye relief of 17 mm or more if you wear glasses |
| Bird ID app | Yes | Merlin Bird ID (free) for sound, photo and step-by-step ID |
| Record keeping | Yes | eBird (free) or a pocket notebook and pencil |
| Field guide | Strongly recommended | A regional guide for the East or West, or a full North America guide |
| Comfortable clothing | Yes | Muted colors, layers, a brimmed hat, good walking shoes |
| Feeder and water | Optional but helpful | One seed feeder and a shallow bird bath to bring birds close |
| Binocular harness | Optional | Helps on long walks with heavier binoculars |
| Spotting scope | Not yet | Useful for shorebirds and ducks at distance, later |
| Camera | Not yet | A phone photo is enough to confirm an ID |
What binoculars should a beginner birder buy?
Binoculars are the one piece of gear worth getting right from the start. Everything else can be free or improvised. A poor binocular, on the other hand, makes birding frustrating: blurry, dim, hard to focus and hard to aim.
Choose 8x magnification
The first number on a binocular is magnification. For beginners, 8x is the best choice. It gives a wider view than 10x, so it is easier to find a bird, and the image shakes less, so you can actually see field marks. It also has more depth of field, which means a bird hopping between branches stays in focus longer. That extra steadiness matters more than extra detail when you are learning.
Choose a 42 mm or 32 mm objective
The second number is the diameter of the front lenses in millimeters. The Cornell Lab groups binoculars into full-size (about 42 mm), compact (about 32 mm) and pocket (about 25 mm). It notes that full-size models give large, bright images and are the most practical choice on a budget, while pocket models need a higher investment to perform well. For a first pair, 8x42 is the safe choice. 8x32 is a good lighter option.
Specs that matter for beginners
- Waterproof and fog-proof: essential. Look for nitrogen or argon purging.
- Field of view: wider is easier. Around 330 ft at 1,000 yards or more is comfortable at 8x.
- Close focus: under 10 ft lets you see feeder birds and butterflies near you.
- Eye relief: 17 mm or more if you wear glasses.
- Phase-coated roof prisms: improve sharpness and contrast in roof prism models.
What to avoid
- Zoom binoculars and very high magnifications such as 12x or 16x without a tripod.
- Toy-grade or unbranded binoculars with “ruby” coated lenses.
- Tiny pocket binoculars as your only pair.
- Anything that is not waterproof.
Two good first binoculars
Based on manufacturer specs, expert reviews and patterns in owner feedback, two models stand out for beginners. Perch and Glass has not physically tested them; this is a research-led recommendation.
Celestron Nature DX 8x42. Celestron lists a 388 ft field of view at 1,000 yards, 6.5 ft close focus, 17.5 mm eye relief and a weight of 22.2 oz, with a waterproof, nitrogen-filled body. The wide view makes it forgiving for new birders. Skip it if you wear thick glasses and need more eye relief. Check price on Amazon
Nikon Prostaff P7 8x42. Nikon lists 20.2 mm eye relief, a 377 ft field of view at 1,000 yards and 20.8 oz. It suits eyeglass wearers. Skip it if you watch feeders closer than about 10 ft, as close focus is 9.8 ft. Check price on Amazon
For more options at different budgets, see our full roundup of the best binoculars for beginners.
Set them up before you go out
New binoculars often look blurry simply because they are not adjusted. Set the hinge to your eye spacing, focus with the left eye using the center wheel, then set the right eye with the diopter. Glasses wearers should twist the eyecups down. Our step-by-step guide on how to adjust binoculars takes about five minutes to follow.
What apps do beginner birders use?
Your phone is the second most useful birding tool, and the two best apps are free.
Merlin Bird ID
Merlin, from the Cornell Lab of Ornithology, is the single most helpful tool for a new birder. According to the Cornell Lab, it offers:
- Sound ID, which listens to birds around you and shows suggestions in real time.
- Photo ID, which offers a short list of likely matches from a photo, including one from your camera roll.
- Step-by-step ID, which asks three simple questions about a bird and returns possible matches.
- Save My Bird, which builds a life list as you confirm birds.
After you download a bird pack for your region, Sound ID and Photo ID work offline. Sound ID covers birds in the US, Canada and Europe, plus some common birds elsewhere.
Treat Merlin as a very good assistant, not an oracle. Sound ID can mistake mimics, distant noises and similar songs. Confirm by looking at the bird when you can. Our guide on how to use Merlin Sound ID without getting fooled covers the common errors.
eBird
eBird, also from the Cornell Lab, is where you record sightings. You submit a checklist of the birds you saw at a place and time. In return you get a personal life list, bar charts of which birds occur where you live by week, maps of nearby hotspots, and alerts for rare birds. Your checklists also feed scientific research. Start with our guide on how to use eBird.
Other apps
Several field guide apps, including digital versions of well-known printed guides, are available. We compare them in our guide to the best bird ID apps.
Do you need a field guide to start birding?
You can start without one, but a field guide makes you a better birder faster. Apps tell you the answer. A field guide shows you the question: which birds look alike, and which feature separates them. Reading the page for a bird you just saw, and looking at its neighbors, is one of the quickest ways to learn.
Regional or continental?
- Regional guides (Eastern or Western North America) are smaller and lighter and only show birds you are likely to see. They are ideal for beginners.
- Continental guides cover all of North America, which is more useful if you travel, but they are heavier and include many birds you will never meet at home.
Illustrations or photos?
Illustrated guides show each bird in a standard pose with the key marks emphasized, which makes comparison easier. Photo guides show real birds but lighting and angle vary. Most experienced birders learned with illustrated guides, such as those by David Sibley, Roger Tory Peterson and Kenn Kaufman, or the National Geographic guide. See our comparison of the best field guides for North American birds.
How should you keep track of the birds you see?
Keeping a record turns casual watching into birding. It also helps you learn: writing down what you saw forces you to notice.
- eBird: the easiest digital option. Submit a checklist from your phone in the field or type it in later.
- A pocket notebook: note the date, place, weather, and each bird. For unknown birds, write down size compared with a familiar bird, shape, colors, behavior and sounds before you look anything up.
- A simple sketch: you do not need artistic skill. A rough outline with arrows to colors and marks is often more useful than a blurry photo.
A pencil works in rain and cold where pens fail.
What should you wear birding?
Clothing matters more for comfort than for seeing birds, but a few choices help.
- Muted colors. Browns, greens and grays blend in. Bright white and flashy colors are easier for birds to notice when you move.
- Layers. Early mornings are cold, even in summer. Dress for the start and shed layers later.
- A brimmed hat. Keeps sun out of your eyes and off the eyepieces.
- Quiet fabrics. Some nylon rain shells rustle loudly. Softer fabrics are less noticeable.
- Comfortable waterproof shoes. Morning grass is wet.
- Tick and insect protection. Long pants tucked into socks and a repellent suited to your area, especially in brushy and grassy habitats.
How to find a bird in your binoculars
Many beginners give up on binoculars because they cannot find the bird once the binoculars are at their eyes. The fix is technique, not better gear.
- Find the bird with your eyes first. Keep looking at it.
- Do not look down. Keep your eyes locked on the bird and bring the binoculars up to your eyes, rather than lowering your head to the binoculars.
- Use a landmark. If the bird is in a tree, note a distinctive branch or clump of leaves near it, find that landmark in the binoculars, then move to the bird.
- Pre-focus. Before a bird appears, focus on something at roughly the distance you expect birds to be, such as the feeder or a nearby shrub.
- Practice on still targets. Fence posts, signs and perched birds at the feeder are good practice before trying warblers in treetops.
After a week or two of practice, raising binoculars straight onto a bird becomes automatic.
Can you take bird photos with a phone?
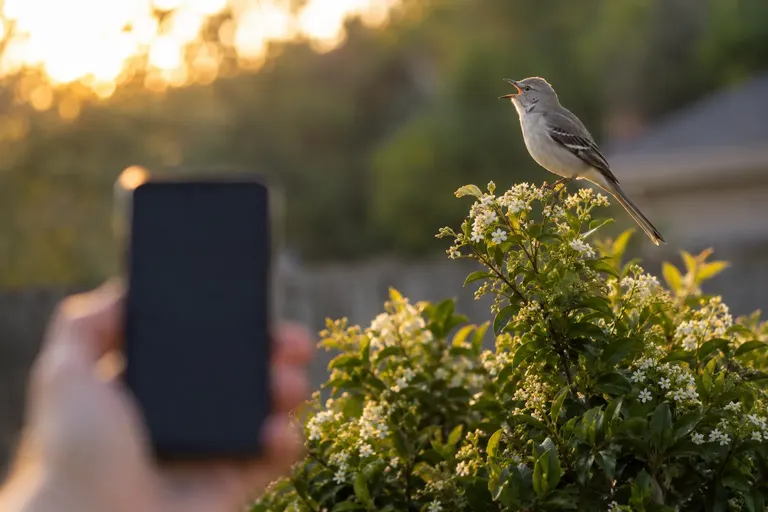
Yes, and for beginners a phone is enough. A photo, even a poor one, can confirm an identification later, catch a field mark you missed and let Merlin’s Photo ID suggest a match.
- Digiscoping: hold the phone camera lens directly against one eyepiece of your binoculars, center the bird, then zoom slightly on the phone to remove the dark ring. It takes practice, and a phone adapter makes it easier.
- Record sound: the phone’s voice recorder, or Merlin’s recording feature, captures songs you can review later.
- Photograph the habitat too. A wide shot of where you saw the bird adds context when you look it up.
If you later want sharp bird portraits, a dedicated camera with a long lens is a separate investment. Many people bird for years without one.
Is birding accessible for older adults and people with limited mobility?
Very much so. Backyard birding requires no walking at all, and a comfortable chair by a window with a feeder in view is a legitimate way to bird every day. For outings, many refuges, parks and nature centers have paved trails, boardwalks and observation blinds reachable by car or wheelchair. Lighter binoculars, such as 8x32 models, reduce neck and arm strain, and a harness moves weight from the neck to the shoulders. Sound ID also lets people with limited eyesight identify birds by ear.
Should beginners put up a bird feeder?
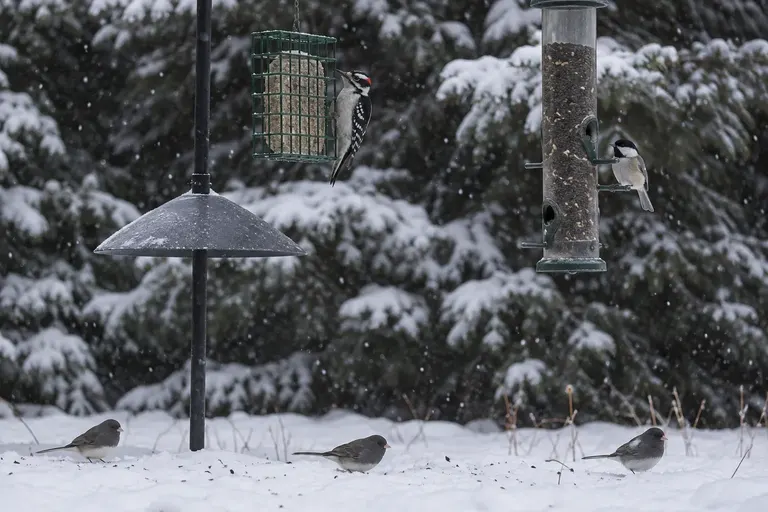
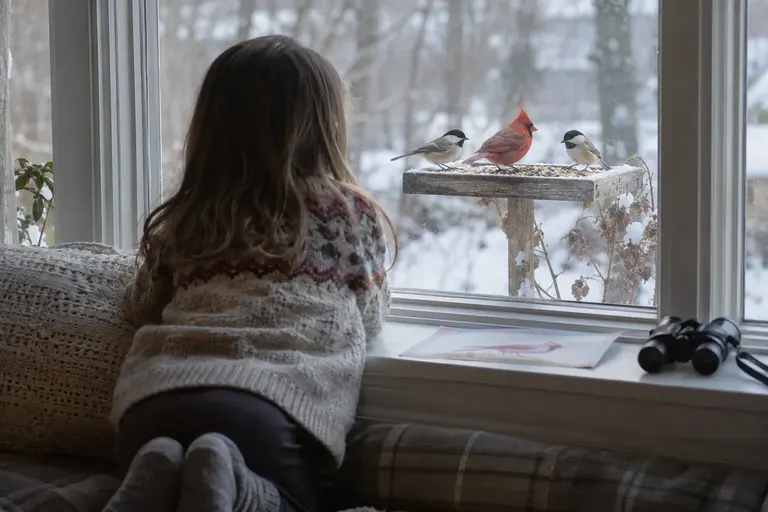
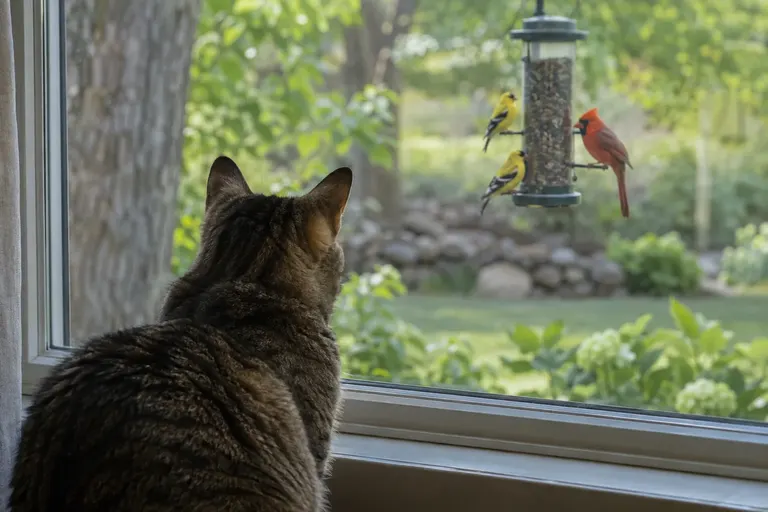
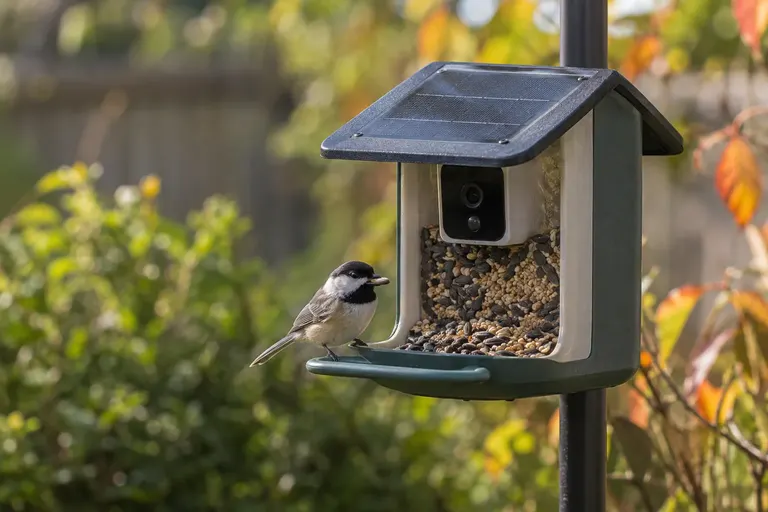
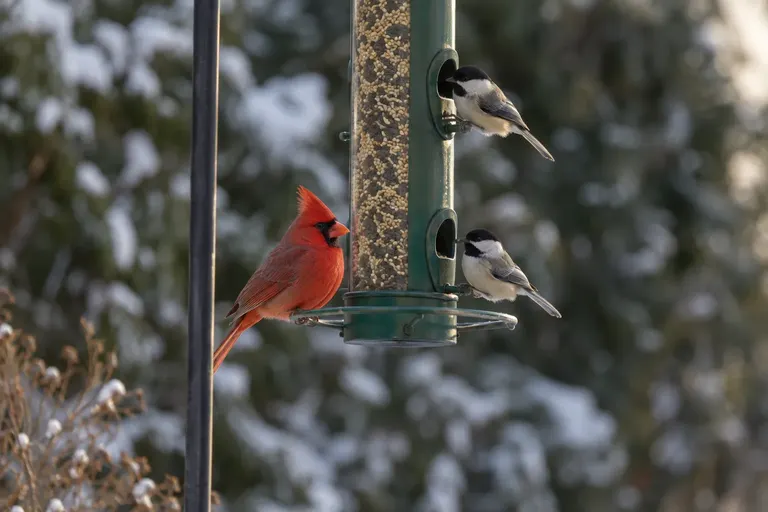
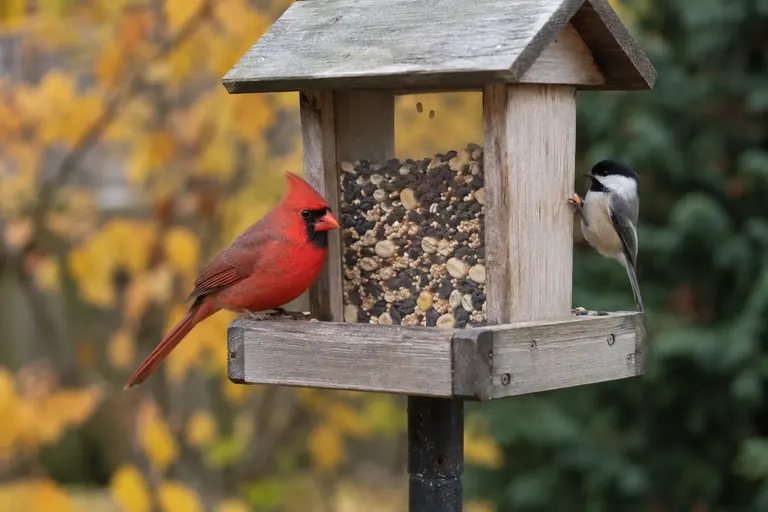
A feeder is not required, but it is one of the best learning tools there is. It brings common birds close enough to study every day, in all seasons and plumages. Learning your feeder birds cold makes new birds stand out when you see them elsewhere.
Start with one feeder filled with black oil sunflower seed, which attracts the widest range of common species, and a shallow bird bath. Our roundup of the best bird feeders is a good starting point.
What gear can beginners skip?
- Spotting scope. Great for shorebirds and ducks at a distance, but expensive, heavy and unnecessary for learning common birds.
- Camera with a long lens. Photography is a separate hobby. A phone photo through binoculars, called digiscoping, is often enough to confirm an ID.
- Image-stabilized or 10x binoculars as a first pair. Heavier and less forgiving.
- Multiple field guides. One good regional guide is enough to start.
- Specialty birding vests and gadgets. Nice to have, not needed.
A harness is the one accessory worth considering early if your binoculars feel heavy on a neck strap during long walks.
How to start birding: your first four weeks
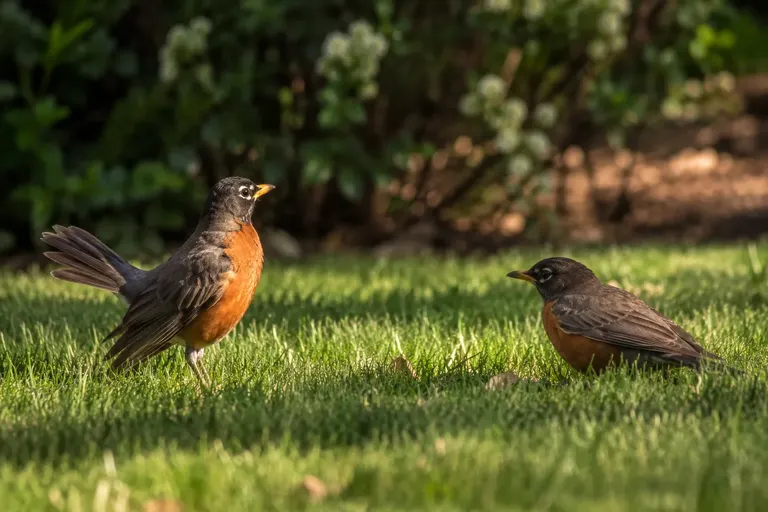
- Week 1: learn your yard. Spend 10 to 15 minutes each morning watching the same spot. Identify every bird you can, using Merlin and a field guide. Aim to know the 10 most common species by sight.
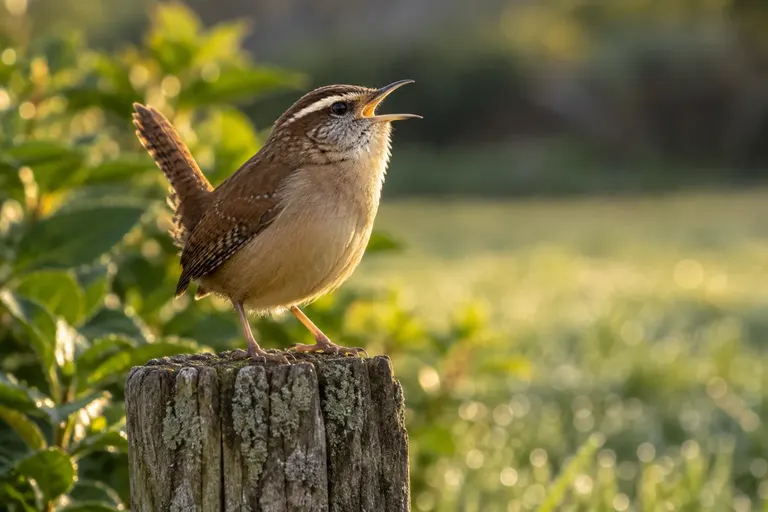
- Week 2: add sound. Run Merlin Sound ID while you watch. Try to match each song to the bird producing it. Sound is how experienced birders find most birds.
- Week 3: visit a local park or eBird hotspot. Pick one place close to home and go early. Walk slowly, stop often and listen.
- Week 4: join a group walk. Local Audubon chapters, nature centers and bird clubs often run free beginner walks. Experienced birders will point out birds and share tips you would take months to learn alone.
Along the way, submit your sightings to eBird and start a life list.
Where should beginners go birding?
- Your own yard or balcony. The best classroom you have.
- Local parks with a mix of trees, shrubs and water. Edges between habitats hold the most species.
- eBird hotspots. The eBird map shows popular birding locations near you and what has been seen there recently.
- National wildlife refuges and state parks. Many have trails, observation platforms and bird lists.
- Wetlands and lakes. Ducks, herons and shorebirds are large and often sit still, which makes them good practice for binocular skills.
Common beginner mistakes
Buying too much magnification. 10x and higher look impressive on paper but make birds harder to find and hold steady.
Not setting the diopter. Many “blurry binocular” complaints are simply an unset diopter.
Looking down at the book first. When you see a new bird, watch it as long as it stays. Look at the book or app afterward. The bird will leave; the book will not.
Trusting the app blindly. Use Merlin as a suggestion, then confirm with your eyes and a field guide.
Moving too fast. Birders who walk slowly, stand still and listen see more.
Ignoring etiquette. Keep a respectful distance from nests, stay on trails and do not overuse playback. Our guide to birding etiquette covers the basics.
Sources
Gear mentioned in this guide
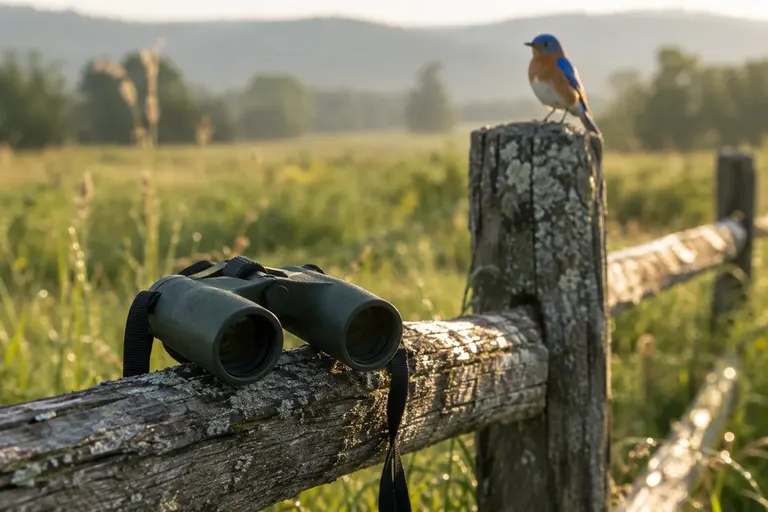
Celestron Nature DX 8x42
Waterproof, a wide 388 ft view that makes birds easy to find, and close focus to 6.5 ft for feeder birds.
- Best for
- Most new birders who want one forgiving binocular.
- Skip it if
- You wear thick glasses and need more than 17.5 mm eye relief.
- Field of view
- 388 ft at 1,000 yd
- Close focus
- 6.5 ft
- Weight
- 22.2 oz
Nikon Prostaff P7 8x42
20.2 mm eye relief and a light 20.8 oz body make it easy to use with glasses on.
- Best for
- Eyeglass wearers and anyone who wants a lighter first pair.
- Skip it if
- Your feeders are closer than 10 ft; close focus is 9.8 ft.
- Eye relief
- 20.2 mm
- Field of view
- 377 ft at 1,000 yd
- Weight
- 20.8 oz
Frequently asked questions
What do I need to start birding?
Only a few things: binoculars, a way to identify what you see, and a way to remember it. A waterproof 8x42 binocular, the free Merlin Bird ID app from the Cornell Lab, and eBird or a small notebook cover the basics. A regional field guide helps you learn faster. Scopes, cameras and specialty clothing can wait until you know what you enjoy.
Is 8x or 10x better for beginner birders?
8x is easier for beginners. Lower magnification gives a wider, steadier view, so birds are easier to find and hold in the frame, and it has more depth of field, so less refocusing is needed. 10x shows more detail at distance but shakes more. Many experienced birders still carry 8x as their main binocular.
Is Merlin Bird ID really free?
Yes. Merlin Bird ID is a free app from the Cornell Lab of Ornithology for iOS and Android. It offers Sound ID, Photo ID and a step-by-step ID wizard that asks simple questions about a bird. After you download a bird pack for your region, Sound ID and Photo ID work offline, which helps on trails with weak signal.
Do I need a field guide if I have an app?
Not strictly, but most birders find a printed or app-based field guide speeds up learning. A guide shows similar species side by side with the key differences marked, which teaches you what to look for next time. Apps are faster in the moment, while a field guide helps you understand why one bird is not another.
What is the best time of day for beginners to go birding?
Early morning is usually best. Many songbirds are most active and vocal in the first few hours after sunrise, especially in spring. Late afternoon can also be productive. Midday tends to be quieter, though waterbirds and raptors are often easy to see then. Backyard feeders can be busy at any time.